Sprouting: How to sprout seeds at home
Seed sprouting is the process of germinating seeds to produce sprouts that can be used as a nutrient-rich ingredient in many meals.
Growing sprouts at home have several benefits, including:
- Nutritional benefits: Sprouts are a rich source of vitamins, minerals, and antioxidants. By growing your sprouts, you can ensure they are fresh and free from harmful chemicals or additives.
- Cost-effective: Sprouts are relatively inexpensive to grow at home, and you can produce many sprouts from a small amount of seeds. This can save you money compared to buying sprouts from the store in the long run.
- Sustainability: Growing your sprouts at home is a sustainable way to add fresh produce to your meals. It requires minimal resources and can be done year-round.
- Convenience: Having fresh sprouts can make meal preparation quicker and easier. You can easily add them to salads, sandwiches, and other dishes to boost their nutritional content.
- Control: By growing your sprouts, you have control over the quality of the seeds and the growing process. You can ensure that your sprouts are produced in a clean and safe environment and harvested at the right time for maximum freshness and nutritional value.
Methods of Seed Sprouting:
There are many methods of seed sprouting, including:
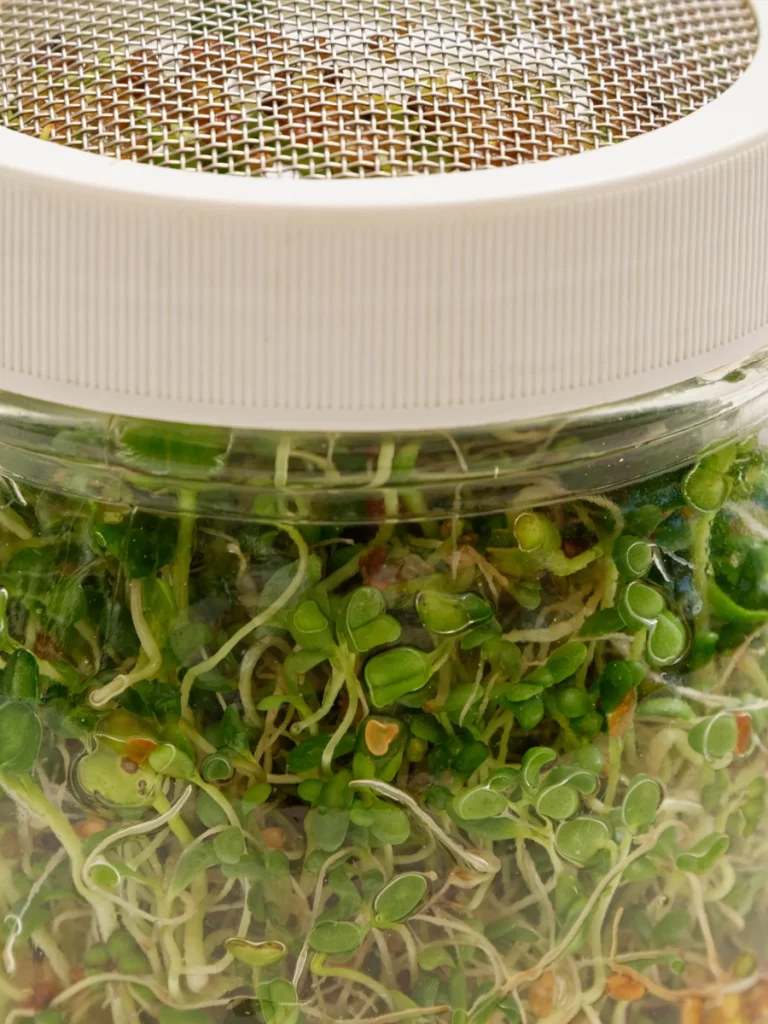
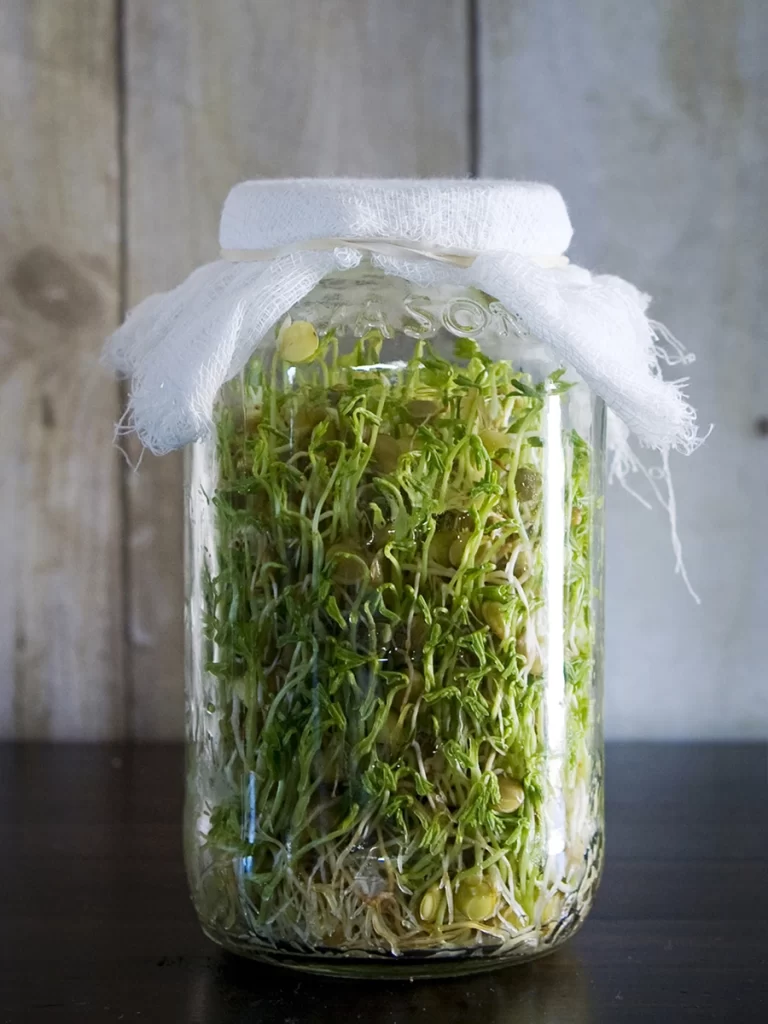
- Jar Sprouting: This method involves soaking seeds in a jar overnight and then rinsing and draining them twice daily until they sprout. The jar should be covered with a mesh or cheesecloth to allow air circulation.
- Tray Sprouting: This method involves spreading seeds on a tray with a layer of soil and watering them twice a day until they sprout. The tray should be kept warm and away from direct sunlight until the seeds germinate.
- Automatic Sprouting: This method uses an automatic sprouting machine that regulates the water and temperature to produce sprouts.
Popular Seed Varieties:
Many seed varieties can be used for sprouting, including:
- Alfalfa: Alfalfa sprouts are one of the most popular seed varieties for sprouting. They are mild in flavor and can be added to salads and sandwiches.
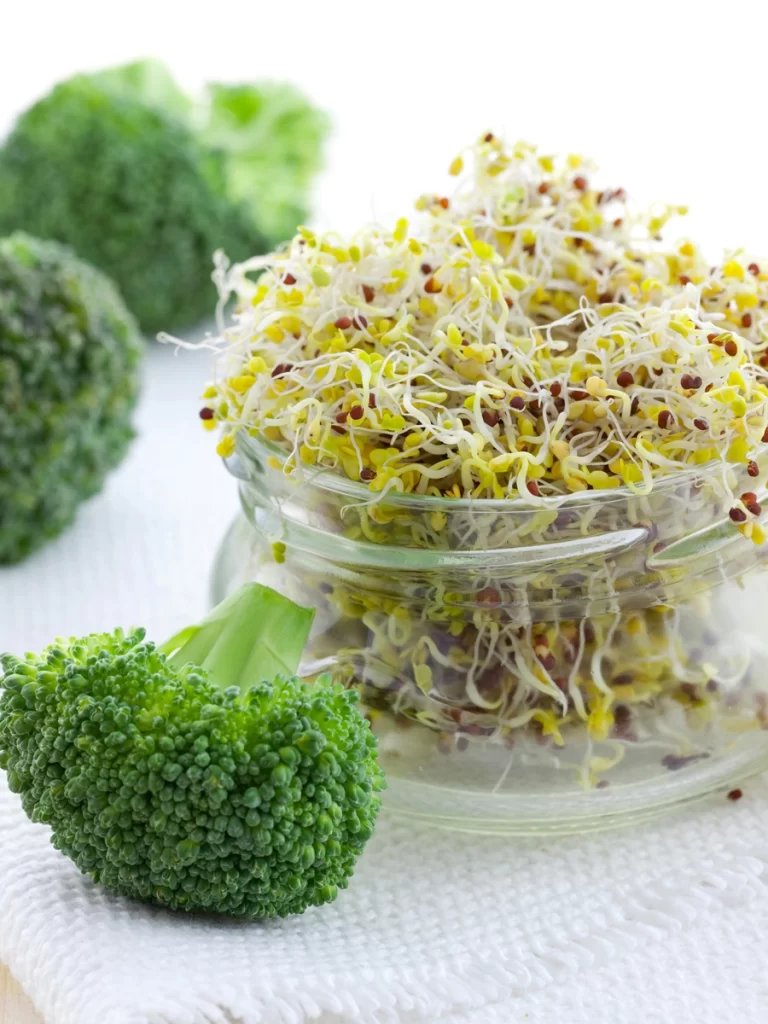
- Broccoli: Broccoli sprouts are a rich source of antioxidants and can be added to salads and stir-fries.
- Mung Bean: Mung bean sprouts are a popular ingredient in Asian cuisine and can be added to soups and stir-fries.
- Lentil: Lentil sprouts are a great source of protein and can be added to salads and sandwiches.
How To Grow Sprouts At Home
The most common and convenient method for sprouting seeds is in a jar. It doesn't require much equipment at all! Just three easy items, a glass jar, mesh fabric, and a rubber band, and you are on the road to creating your own healthy fresh food. Following these basic sprouts directions, almost any seed or bean can be sprouted in a jar.
Step 1: Choose Your Seeds
The first step in sprouting seeds in a jar is to choose the right seeds. Some of the most popular sprouting seeds include alfalfa, broccoli, radish, mung bean, lentil, and clover. You can find these seeds at most health food stores or online.
Make sure to choose high-quality seeds that are specifically labeled for sprouting. Avoid using seeds that have been treated with fungicides or other chemicals, as these can be harmful to your health.
Step 2: Soak the Seeds
Once you have your seeds, the next step is to soak them in water. Add 1-2 tablespoons of seeds to the bottom of a clean glass jar. Then, fill the jar with filtered water, covering the seeds completely.
Let the seeds soak for 8-12 hours or overnight. This will soften the seed coat and kickstart the germination process.
Step 3: Drain the Water
After soaking, drain the water from the jar using a fine mesh strainer or cheesecloth. Rinse the seeds with fresh water and drain again.
Drain the jar thoroughly, as excess water can cause the seeds to rot.
Related: Sprout Huggers Silicone Lids Review
Step 4: Rinse and Drain
From here on out, you must rinse and drain the seeds twice daily. Fill the jar with water, swirl the seeds, and drain the water through the strainer.
Rinse the seeds thoroughly, as any residual water can cause mold growth.
Step 5: Keep the Jar away from direct sunlight
Keep the jar on a countertop out of direct sunlight, such as a cabinet or pantry, to encourage the sprouts to grow. This will help to create a humid environment that is conducive to sprouting.
Step 6: Harvest Your Sprouts
After 3-5 days, your sprouts should be ready to harvest. Remove the sprouts from the jar, rinse them thoroughly with fresh water, and drain.
Store the sprouts in an airtight container in the fridge for up to a week.
In conclusion, sprouting seeds in a jar is a simple and rewarding process that can provide you with fresh, nutritious sprouts at home. With patience and diligence, you can enjoy a continuous supply of delicious sprouts perfect for adding to salads, sandwiches, and many other dishes.
Frequently Asked Questions about Growing Sprouts at Home
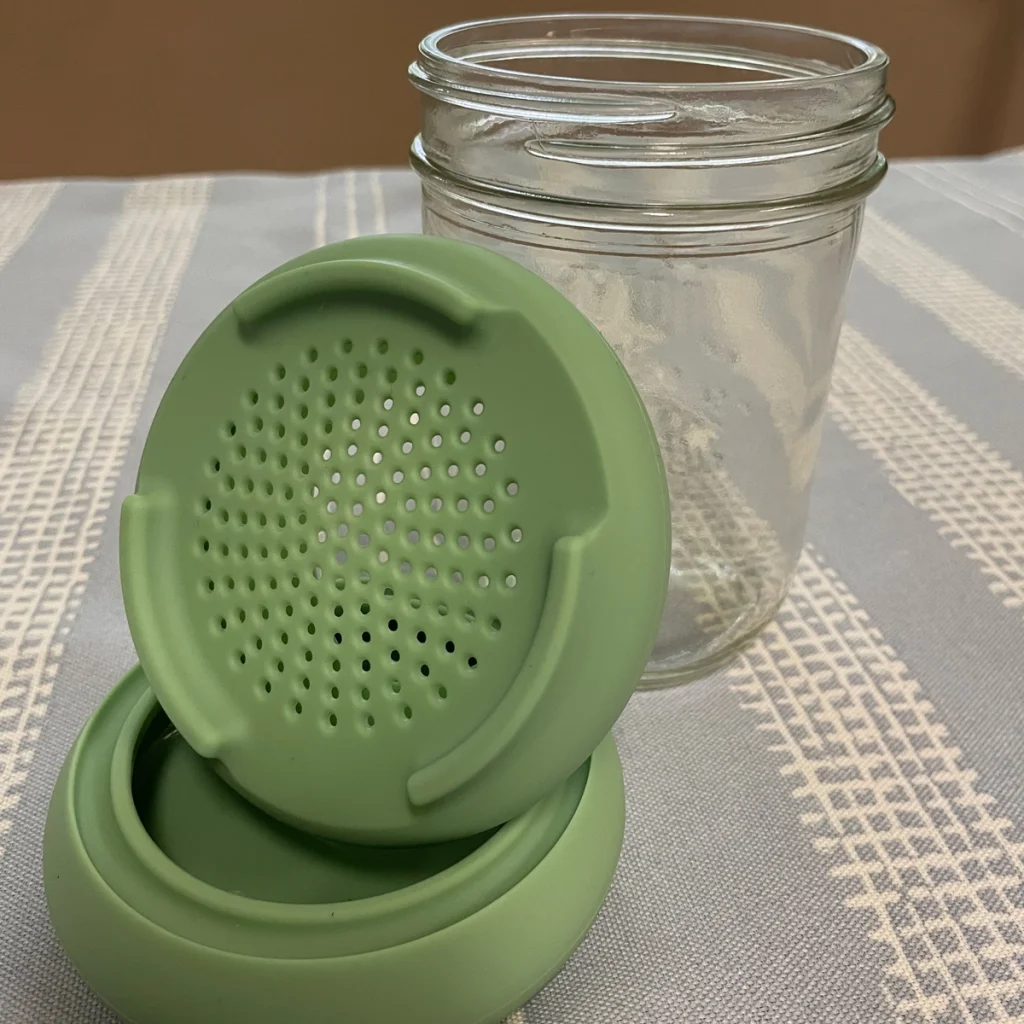
Sprout Huggers Silicone Sprouting Lids Review
My full review of the Sprout Huggers Silicone Sprouting Lids. https://www.youtube.com/watch?v=O0mNt0FnRSk Hi, this is my quick review of the Sprout Hugger silicone sprouting Lids....
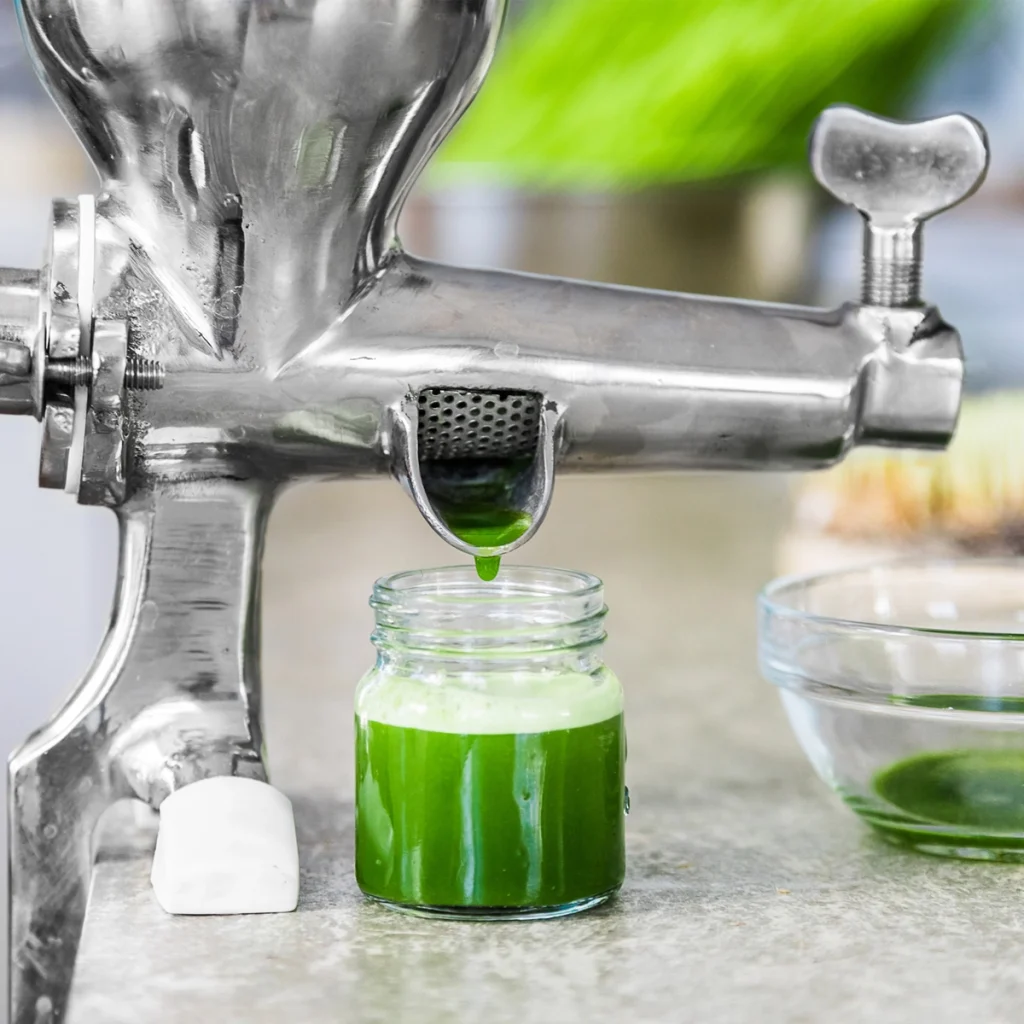
Energize Your Health: How to Make Fermented Wheatgrass Juice
While wheatgrass juice might not be as well known as kombucha and kefir, it offers plenty of health benefits to those who drink it....
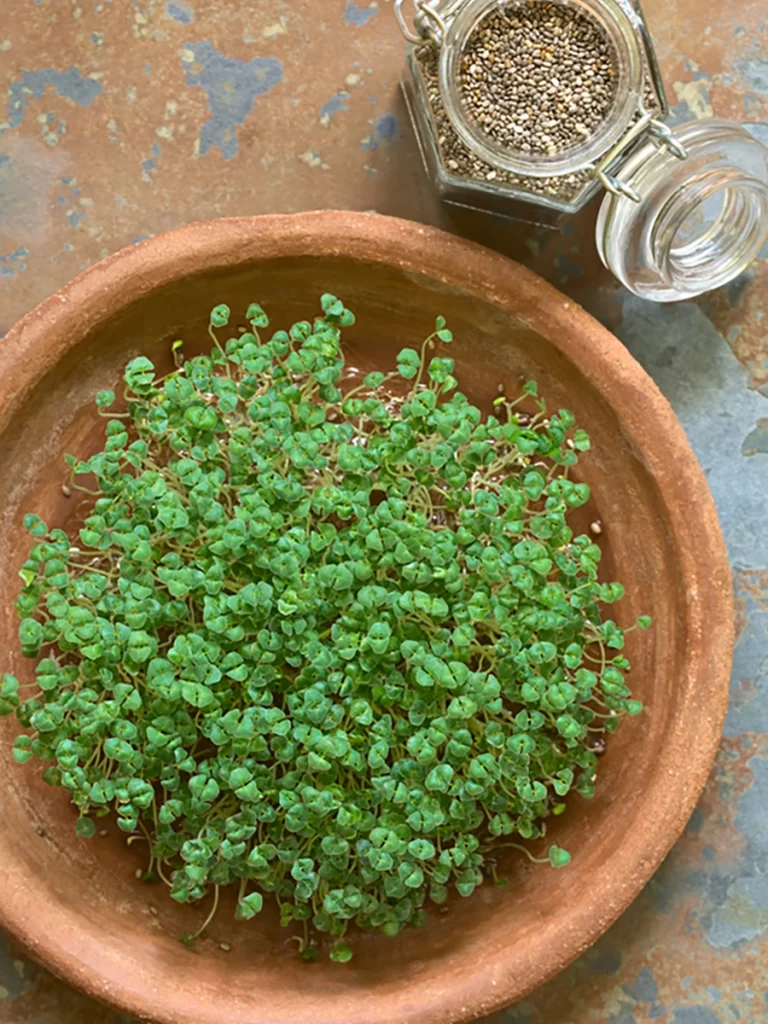
How To Sprout Chia Seeds (Step-By-Step Guide)
This post shares an easy, step-by-step guide for growing chia sprouts from chia seeds. It only takes a few days to grow your superfood...
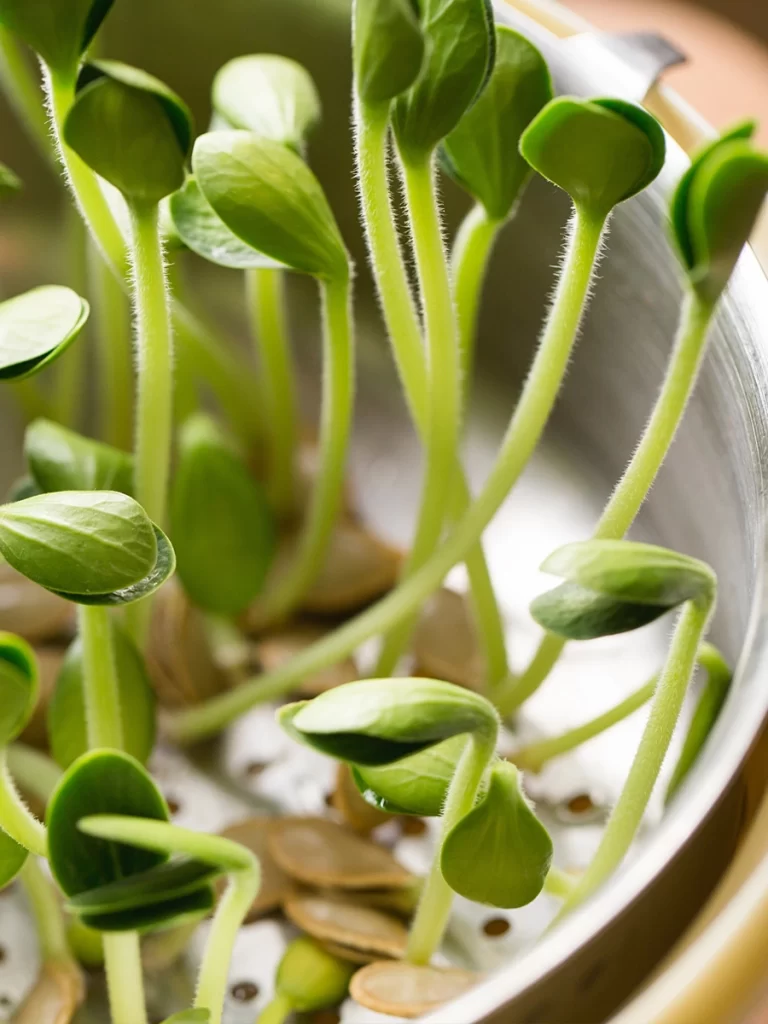
How To Sprout Pumpkin Seeds
How Do You Sprout Pumpkin Seeds? Wondering how to sprout pumpkin seeds for eating? It's effortless, and I'll show you how in this quick...
How To Grow Alfalfa Sprouts
I’ve been growing sprouts in my kitchen for five years now, and I’ve found that alfalfa sprouts are by far the most delicious and...
How To Grow Broccoli Sprouts
To grow broccoli sprouts, first put the broccoli seeds in a jar and cover with water, soak overnight, drain, rinse, repeat 2x a day...
Sprouting Seeds In A Jar (a Simple Guide)
A fun and simple method of sprouting seeds can be done using a jar. Almost any seed can sprout in a jar, following these...

Sprouting Seeds (a Complete Guide)
Getting Started Sprouting Sprouts are the beginning growth of a seed which are in the process of transformation to become a vegetable, grain, or...