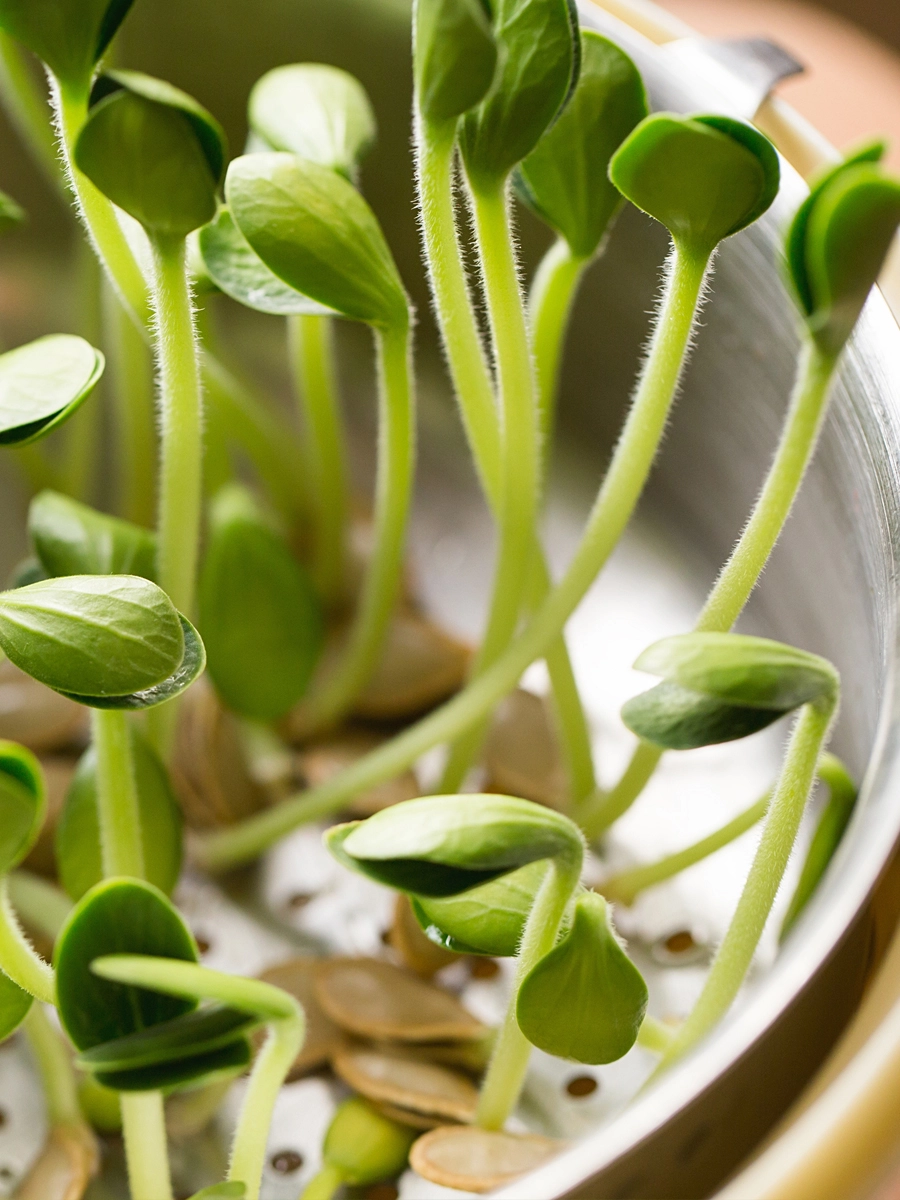
A fun and simple method of sprouting seeds can be done using a jar. Almost any seed can sprout in a jar, following these basic guidelines.
What you'll need to get Started Sprouting Seeds in a Jar
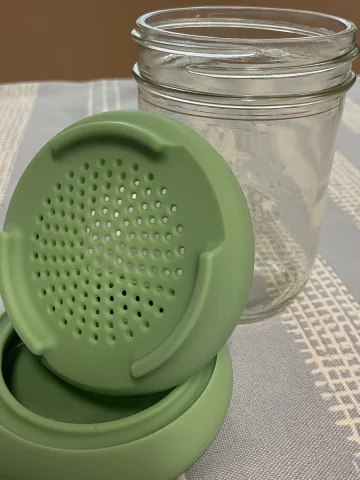
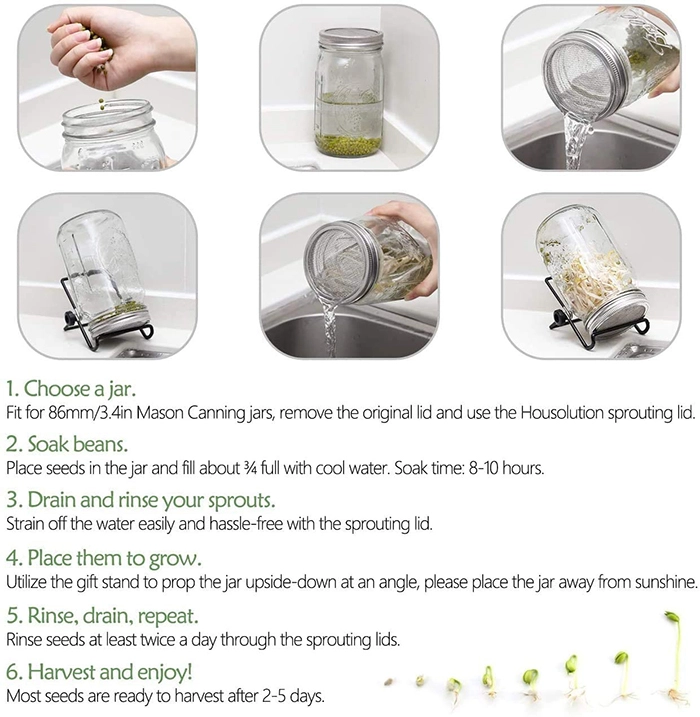
Choose a jar and lid; any size WIDE mouth glass jar will work for sprouting seeds. The wide-mouth jar is recommended over other designs because it is easier to rinse, drain, and remove sprouts. The jar must be large enough to contain the seeds and sprouts.
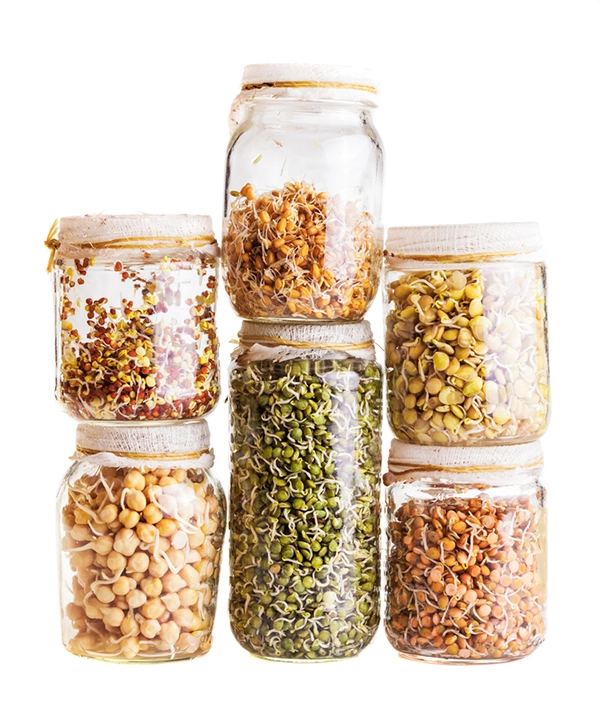
If you are using smaller seeds, such as broccoli sprouts, then a quart-size jar will do just great. Buy a jar with a mesh lid.
Because Legumes and grains are a little bigger, go for a half-gallon jar with a lid.
First, Rinse the Seeds
Removing debris, stones, or broken seeds is essential by rinsing the seeds well with cool water (around 70ºF).
When sprouting smaller seeds, removing the broken seeds will be rather impractical. But you can still sift through the seeds and remove any non-seed materials.
Place the rinsed seeds in a jar and fill it up to about ¾ full with cool water— cover with a mesh lid or cloth, secured with a rubber band, to allow airflow.
Next, Soak the Seeds
A general rule is to soak at least 8 hours. Some larger seeds may require a longer soak, up to 12 hours. You will know the seeds have soaked long enough when they have doubled in size.
Take into account that the temperature will affect the soak time. The seeds will need less time to soak in warmer temperatures. Likewise, in cooler temperatures, the soak time could be much longer.
If you are using larger seeds such as chickpeas or kidney beans, it can take up to 24 hours to soak properly.
Then, Drain the Seeds
It is essential to drain the seeds well for several hours while allowing plenty of air circulation. Mesh lids work well for this step, as the jar may be inverted and propped at an angle to drain for long periods.
Last, Rinse, Drain, and Repeat
Continue the process for 3 - 5 days: Rinse, Drain, and Repeat! The optimal temperature is between 65-80ºF for most seeds.
If you are in warm temperatures, rinse more frequently. Less frequent rinsing may be sufficient if you are in colder climates. But the seeds might not spout as well in colder temperatures.
Try These Easy Seed Sprouting Recipes:
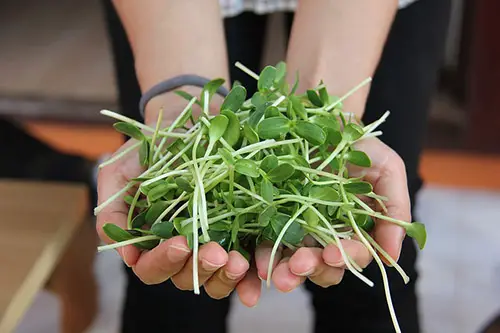
How to Tell Sprouted Seeds are Ready
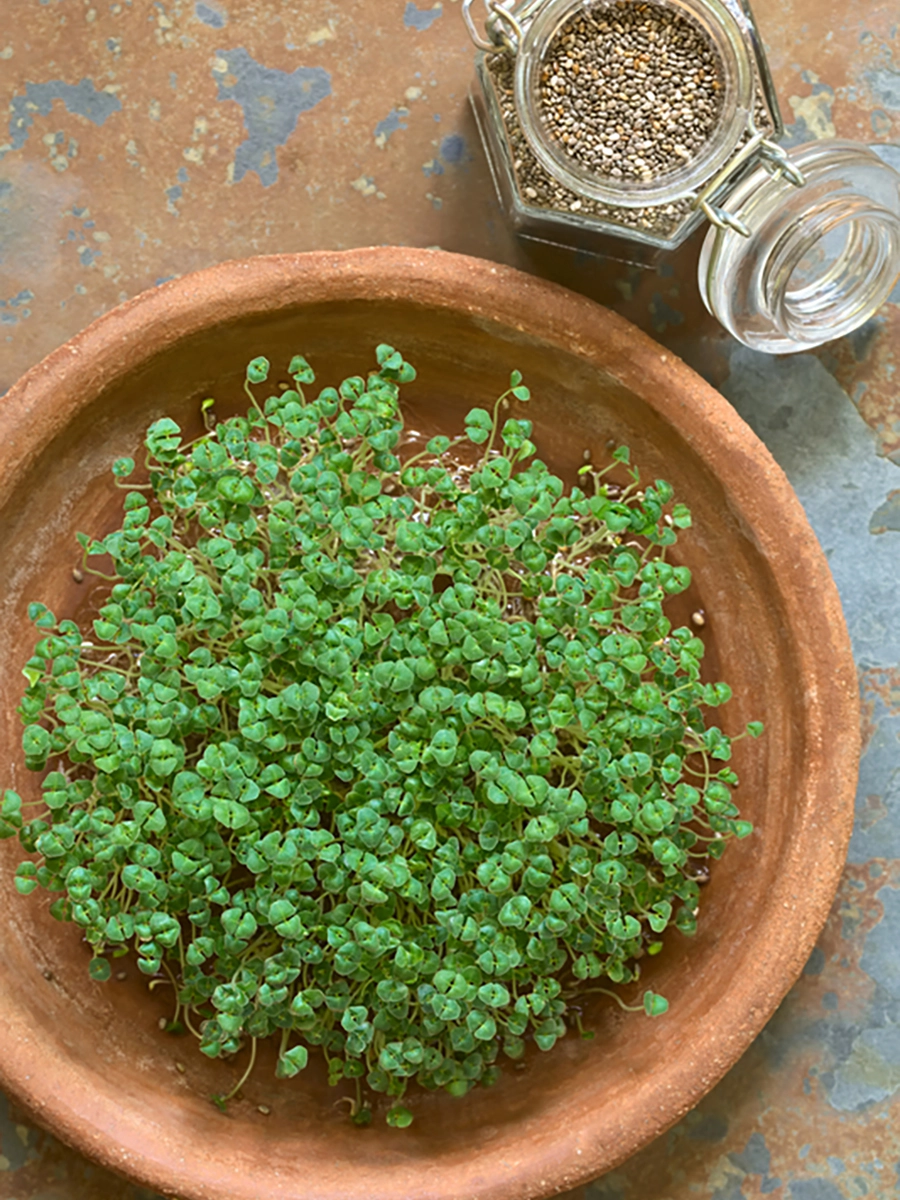
Once the batch of sprouts looks and tastes good to you, they are ready to harvest. Rinse one last time and remove any un-sprouted seeds and hulls. Store the sprouts in the refrigerator.
If you are new to sprouting seeds, make sure to taste them daily to get an idea of what tastes good. That is when you know they are done and ready to be harvested.
Beware, seeds tend to lose their mild flavor if they are left to sprout too long. Most are ready to eat at any point after the sprout tails start to appear.
How to Store Sprouted Seeds
Sprouting seeds are so easy to store. Transfer to a tightly sealed glass or plastic container, and place it in the refrigerator for a few days.
Many people will grow their sprouting seeds in small batches. Doing so allows there always to be fresh sprouts available to eat. Just remember to make sure the sprouts have fully drained before storing them.