How To Make Milk Kefir Cheese
If you have some milk kefir on hand and wonder how to turn it into cheese, this kefir cheese recipe is for you.
You will learn to make your milk kefir cheese, an easy-to-make, fermented, deliciously soft, creamy cheese with a nice tang.
Kefir cheese is a good alternative for cream cheese, sour cream, ricotta, Greek yogurt, cottage cheese, or similar milk products that can replace these dairy products in any recipe. Try it in dips, salad dressings, lasagna, and more.
And keep the leftover kefir whey (the liquid) since it is an excellent starter culture for making cultured vegetables, kefir soda, and other fermented foods. So nothing goes to waste in this recipe.
Kefir cheese is 99% lactose-free and full of health benefits.
The curds portion of kefir ferment contains the fat, casein, and vitamin A, but whey also contains many beneficial properties, and both contain probiotics. Fresh kefir cheese is also loaded with calcium because it is so concentrated.
Good lactic acid and bacterial cultures eat the lactose (milk sugars) out of the milk. Good bacteria produce probiotics from sugars, making it 99% lactose-free.
Furthermore, it lowers the pH, makes it tart, and causes the milk protein to thicken.
Kefir is a pre-digested food because the bacteria digest the lactose during fermentation and before we eat it.
As a result, it is easier for people to digest the milk kefir.
Start With At Least Four Cups of Milk Kefir
To make a proper amount of kefir cheese, you must start out will a large batch of milk kefir grains. Gather up a least four cups of finished milk kefir; however, the more, the better.
Each cup of kefir makes ½ cup of kefir cheese and ½ cup of whey.
Most online kefir cheese recipes only call for one cup of milk kefir. Well, after the straining is done, you are left with about ½ a cup of cheese as the finished product. I can eat that in 2 – 3 bites.
So go BIG so that everyone can enjoy the delicious kefir cheese.
Use ½ teaspoon of salt per four cups of kefir.
You can add more to match your taste preference, but always start with a little less and work your way up.
Keep in mind that you can store the kefir in the freezer until you’ve collected enough for this recipe.
Separating the Curds and Whey
Place a strainer in a bowl and line it with two layers of cheesecloth or a coffee filter. Add the milk kefir and let it drain for approximately 30 minutes.
Check out our list of the best cheese-making supplies and ingredients.
Strain the Kefir
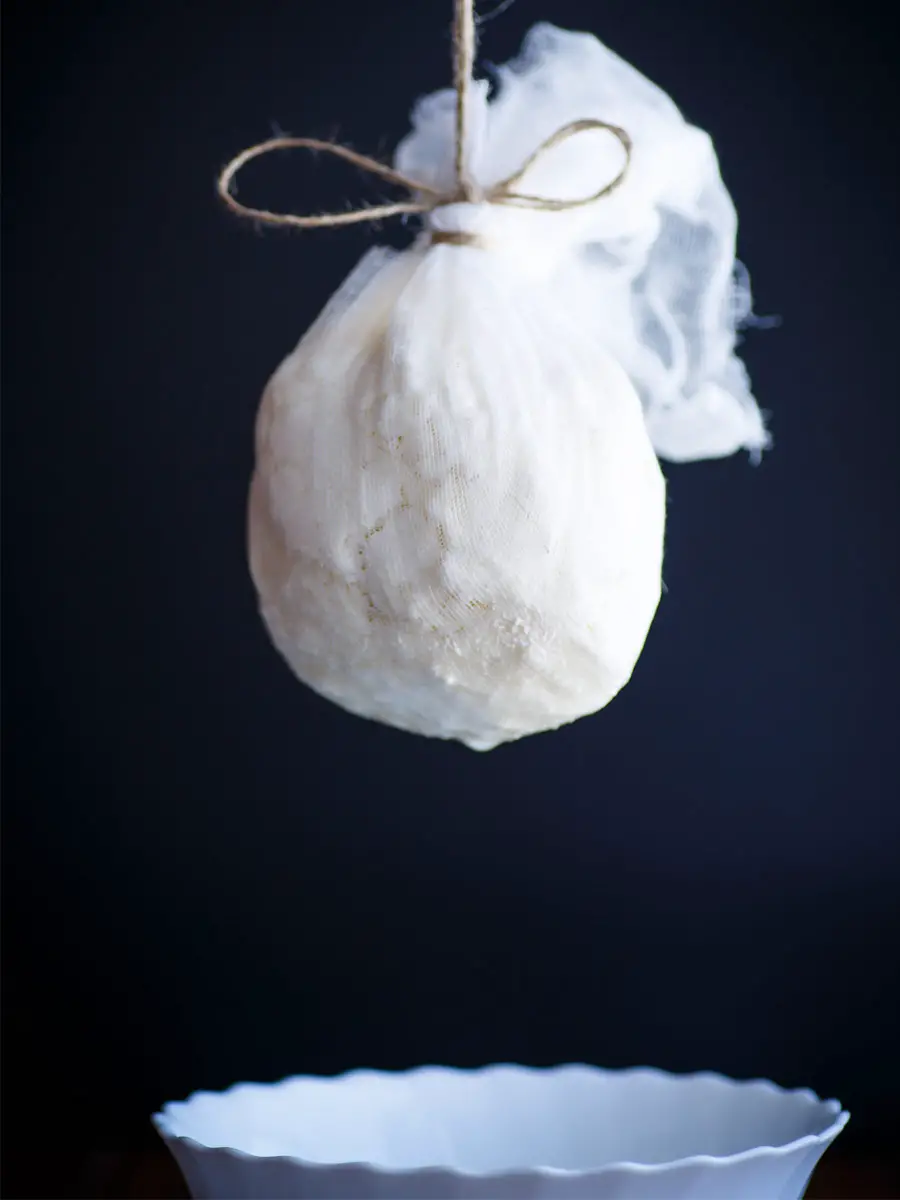
After the liquid whey has separated from the curd, tie up the ends of the cheesecloth into a knot and hang it on a long wooden spoon across the bowl.
Let the kefir continue to strain through the layers of cheesecloth to collect the whey in the bowl. Strain at room temperature or in the fridge for 12 – 24 hours.
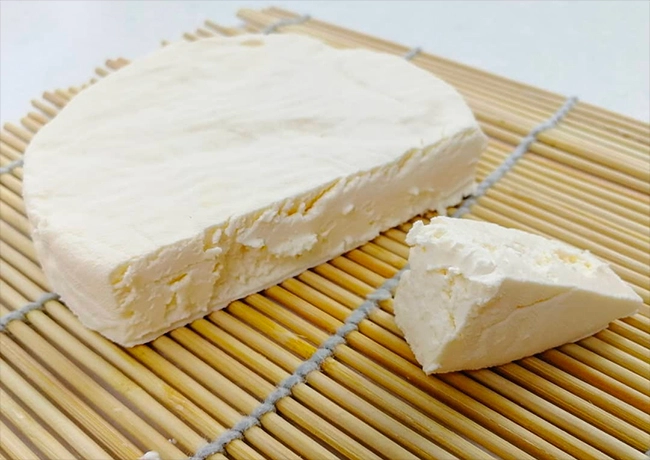
When done, the kefir cheese will be firm on the outside and soft on the inside.
Season the Kefir Cheese
At this point, finish your cheese by mixing in some salt and any additional flavors.
How Can You Use Kefir Cheese?
Creamy kefir cheese can be used in many different ways because it is similar to other common spreadable cheeses, such as cream cheese and ricotta, which are soft and creamy.
Make it into a cheese spread perfect for adding to sandwiches, wraps, bagels, and crackers.
Mix in ¼ cup fresh diced chives and one tablespoon of olive oil.
If you want thicker cheese, then press more whey out of it. Now you can substitute it for feta and cream cheese recipes.
Related Topics: 11 Types of Cheese that Contain Probiotics
Homemade Kefir Cheese Recipe
Kefir cheese is an easy-to-make, delicious soft cheese similar to feta and regular cream cheese. It is so simple; you must strain the milk kefir for up to 24 hours, and you are done. See the section above for a few ways to enjoy this delicious probiotic cheese.

Milk Kefir Cheese
Ingredients
- 4 cups of milk kefir or more
- ½ teaspoon of salt (non-iodized), sea salt, or cheese salt
- Additional seasoning options: chives and olive oil, crushed garlic, chili peppers, fresh herbs
Instructions
- Line a strainer with two layers of cheesecloth or coffee filter, then set it inside a larger bowl.
- Pour in four cups of milk kefir.
- Let the kefir grains strain and separate from the milk whey. Save the liquid whey and use it to make another batch of milk kefir. The milk kefir (curds) is what is left in the cheesecloth.
- Tie up the corners of the cheesecloth onto a long spoon and hang the bundle over a bowl. More whey will strain out.
- Let it hang there and strain for another 24-48 hours.
- When done, place the kefir cheese into the bowl.
- Add ¼ teaspoon salt and stop here if you want plain kefir cheese, or add more to match your taste preference.
- Add additional seasonings such as chili flakes, chives, or fresh herbs if you want to spice up the flavors.
- Store milk kefir cheese in an airtight container in the fridge.
Notes
Equipment
Cheesecloth, or coffee filters
Plastic Strainer, or metal, does not matter because the kefir will not be touching it.
Large Bowl
Long Wooden Spoon

