Getting Started Sprouting
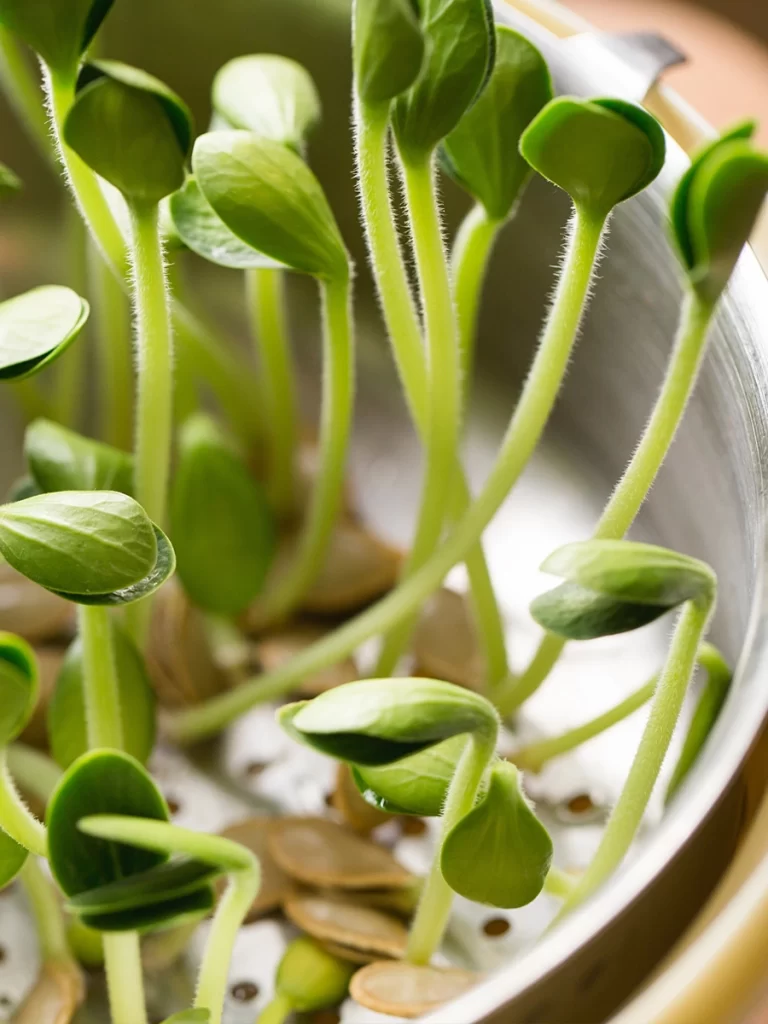
Sprouts are the beginning growth of a seed which are in the process of transformation to become a vegetable, grain, or legume. Sprouting seeds are ready to eat in just one week.
The process of sprouting seeds is all about keeping the seeds moist so they can germinate and create a power-house nutritionally packed little plant that tastes great on just about everything.
Sprouting seeds is one of the easiest growing methods. If you don’t have a green thumb, then this is the plant for you.
Read on to learn everything you need to know about sprouting seeds quickly so you can grow nutritious greens in just one week!
Types of Seeds to Sprout
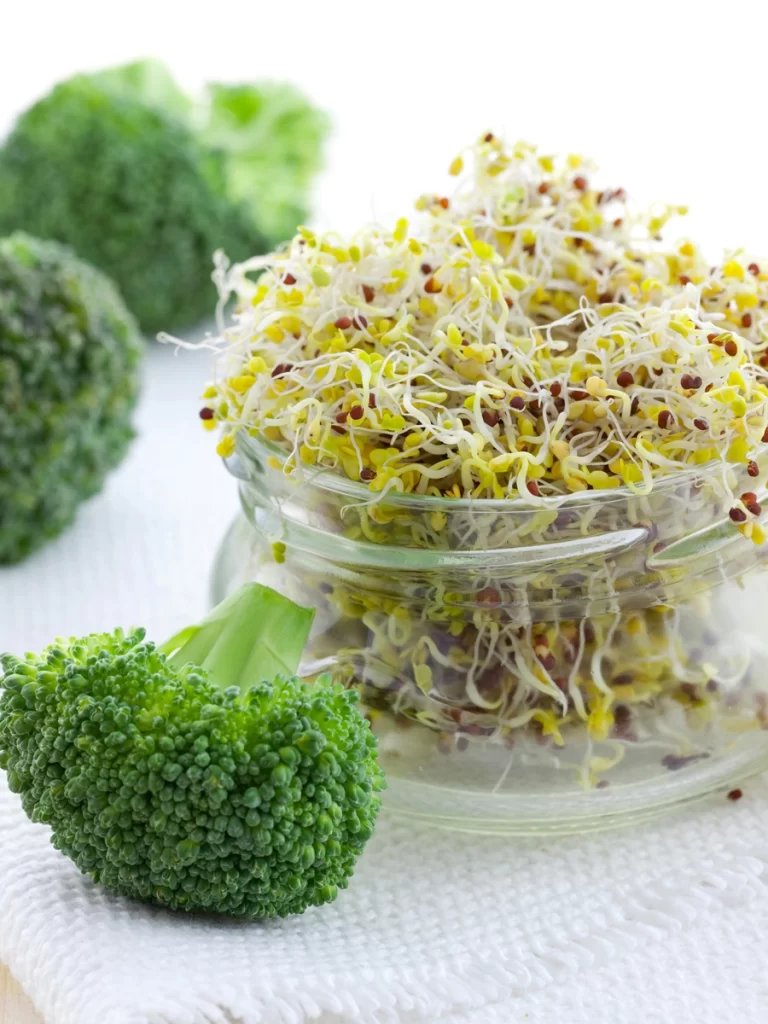
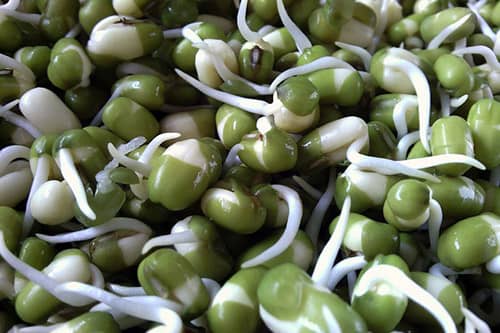
You can sprout whole grains, nuts, beans, lentils, chickpeas, sunflower, pumpkin, chia seeds, chickpeas, split peas, black-eyed peas, quinoa, oats, nuts, and practically any vegetable. The most common sprouted seeds are alfalfa, broccoli, radishes, and mung beans.
Sprouting seeds are available at health food stores, or you can order them online. When you buy seeds, make sure you purchase sprouting-specific seeds and not regular gardening seeds from the garden center or cooking seed from a grocery-store bulk bin.
The types of seed that you don't want to sprout are:- Avoid chemically treated seeds
- Seeds that have been roasted, toasted, cracked, or milled.
- Seeds that are in bulk bins
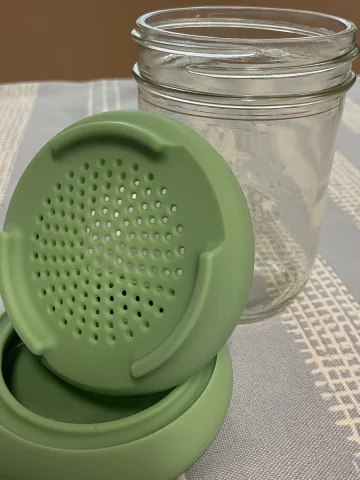
Equipment you Will Need to Get Started Sprouting
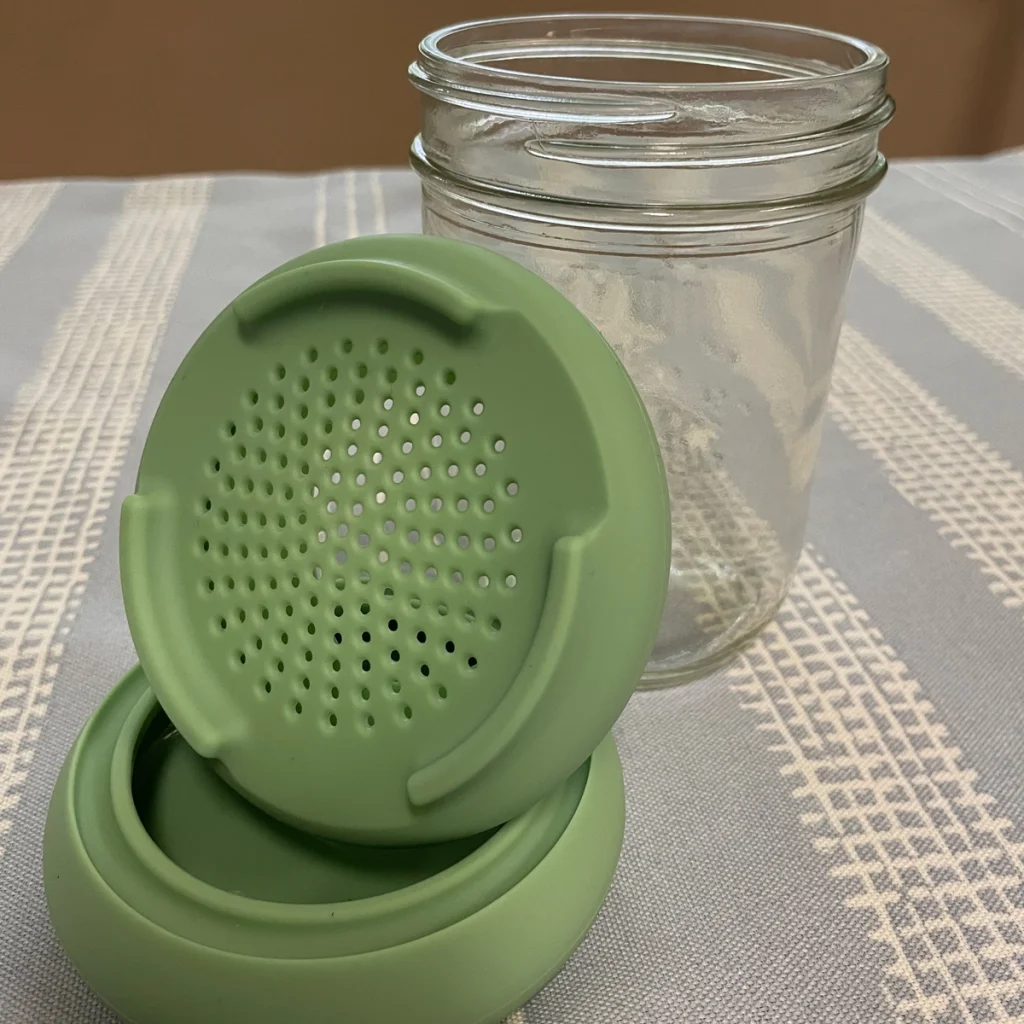
You don't need special equipment to sprout at home. You can use a jar and a cheesecloth, or you can go all out and buy a sprouting kit. Some equipment works better, depending on the type of seeds you use.
Here are some other types of equipment great for sproutings:
- Weave sacks
- Quart or half-gallon glass jars
- Mesh screen
- Trays with covers


Last update on 2025-05-26 / Affiliate links / Images from Amazon Product Advertising API
Choosing a Sprouting Method
There are several methods that you can use to sprout seeds. The most commonly used is with a glass jar. Larger seeds such as legumes fare better using the sack method, or you can use a tray with a cover for leafy sprouts. If you are sprouting chia or flax seeds, you can use a terra cotta saucer.
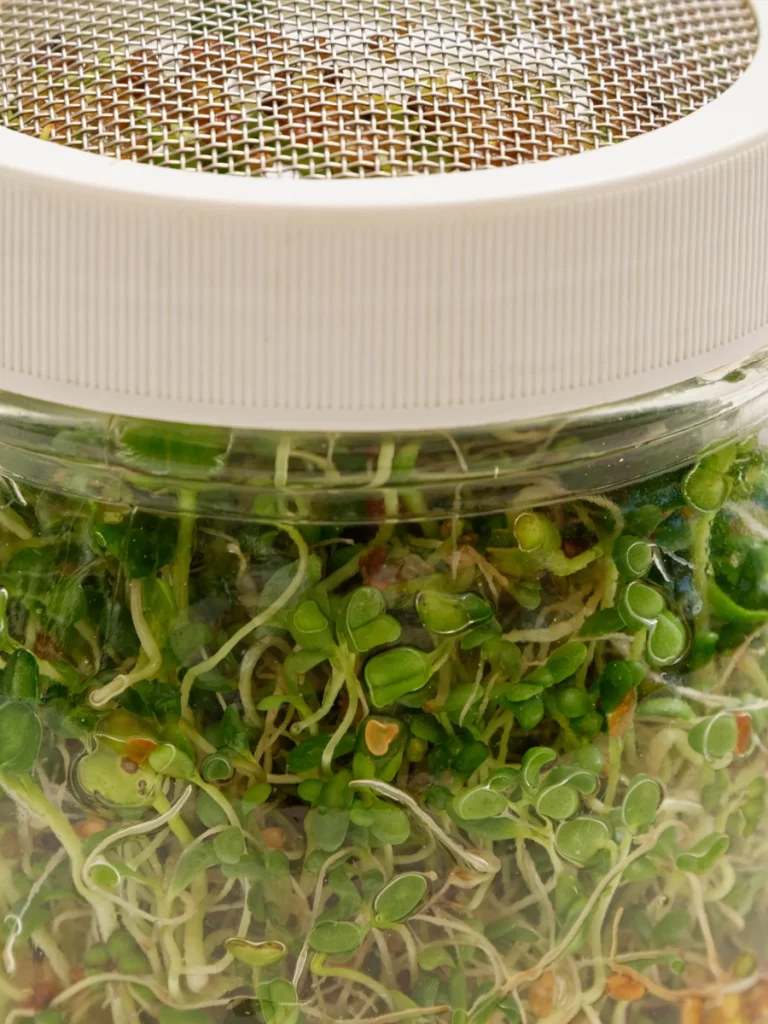
Sprouting with a Glass Jar
The process involved with sprouting is simple:
- Place two tablespoons of seeds in a glass jar and fill the rest of the jar with clean or filtered water.
- Soak seeds overnight, or at a minimum of 12 hours.
- After you finish soaking the seeds, scrape off any seeds that are floating at the top.
- Drain and rinse the seeds with fresh water. This should be done at least twice a day for the next 3 - 5 days, or when the sprouts reach the desired length.
- During this time, keep the jar in a cool spot out of the sunlight.
- When the seeds have reached the desired length, let them sit in sunlight for a few hours to help them turn a nice green color. I use a grow light during the winter.
- Give it one final rinse and drain and spread them out on the paper towel in a single layer so that they can air dry.
- Now the seeds are ready to eat. Store in a plastic bag or jar in the refrigerator.
Check out our step-by-step instructions on how to sprout broccoli seeds.
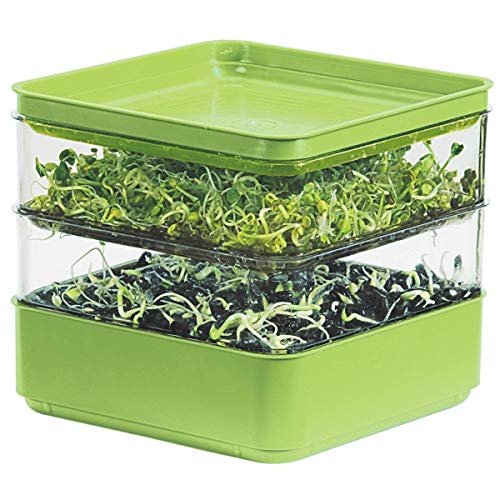
Sprouting with a Plastic Grow Tray
After the seeds have soaked, you will place them in a plastic growth tray with punctured holes. You will have a nesting tray underneath the tray of seeds, and you will need to put it in an area where there isn't direct sunlight. Mist the seeds with a spray bottle for 2-3 days until sprouts appear. You will then rinse and drain the sprouts to remove hulls and unsprouted seeds.
Sprouting with a Sack
After the seeds go through the soaking process, you will need to transfer them to a mesh sack. You will need to hang the sack so that the water drains completely, and you need to make sure that air circulates. Repeat the rinse and draining process by dunking in a bowl of cold water three times daily for the next 2-5 days until a tail appears. After this, you can harvest the sprouts and do a final rinse and drain before storing and cooking the sprouts.
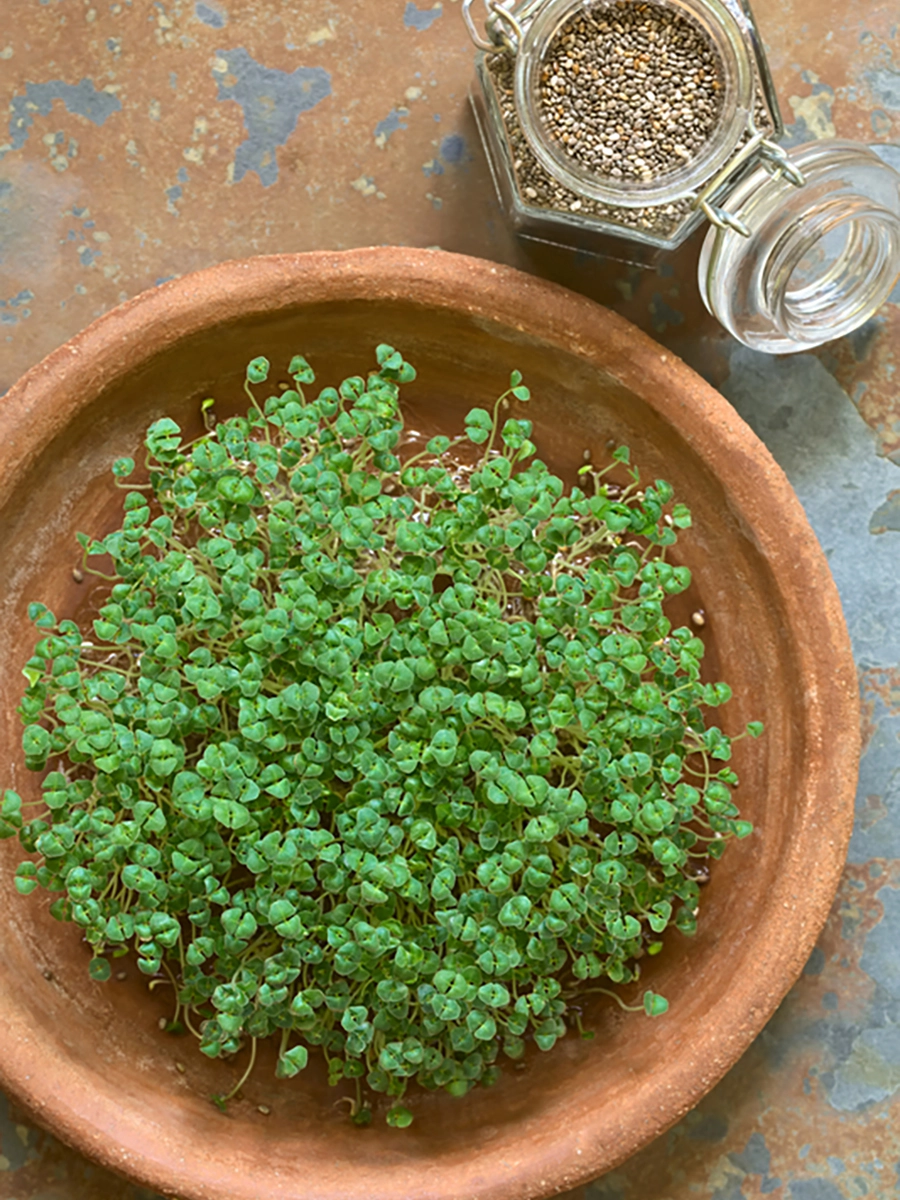
Sprouting with a Terra Cotta Saucer
- If you plan on sprouting flax seeds or chia seeds, the best method is by using a terra cotta saucer.
- Place the seeds in at the bottom of the terra cotta saucer
- Place the terra cotta saucer in a plate of water bigger than the terra cotta saucer
- Use a second plate to cover the terra cotta saucer
- The terra cotta saucer soaks up the right amount of water for the seeds to sprout.
- You can harvest the seeds within 2-3 days.
- Sprouts can last for 5-7 days when stored properly in the fridge.
The Benefits of Sprouting Grains
Sprouting gains offer several benefits for those that are health conscious. Sprouts are considered a superfood loaded with proteins, vitamins, antioxidants, and minerals that can be added to any recipe or substituted for less healthy ingredients for a tasty and healthy snack or meal. Not to mention you can store them longer and use them to make an all-grain flour to bake healthier loaves of bread and cakes.
Ways to use Sprouted Grains in Recipes
There are many ways that you can enjoy your sprouts. Sprouted grains are the perfect ingredient to add nutritional value to just about any recipe. Keep in mind that sprouted grains need to be cooked before you can consume them. The only sprouts that you can eat raw are vegetable sprouts.
Here are some ideas of ways that you can use sprouted grains in recipes:
Substitute grain flour for regular flour in bread and cakes. Dehydrate and grind the grain sprouts into a grain flour.
You can use them to make a high energy protein drink. You blend wheat sprouts, a banana, wheat germ, honey, and milk, pour in a glass, and voila a healthy energy drink.
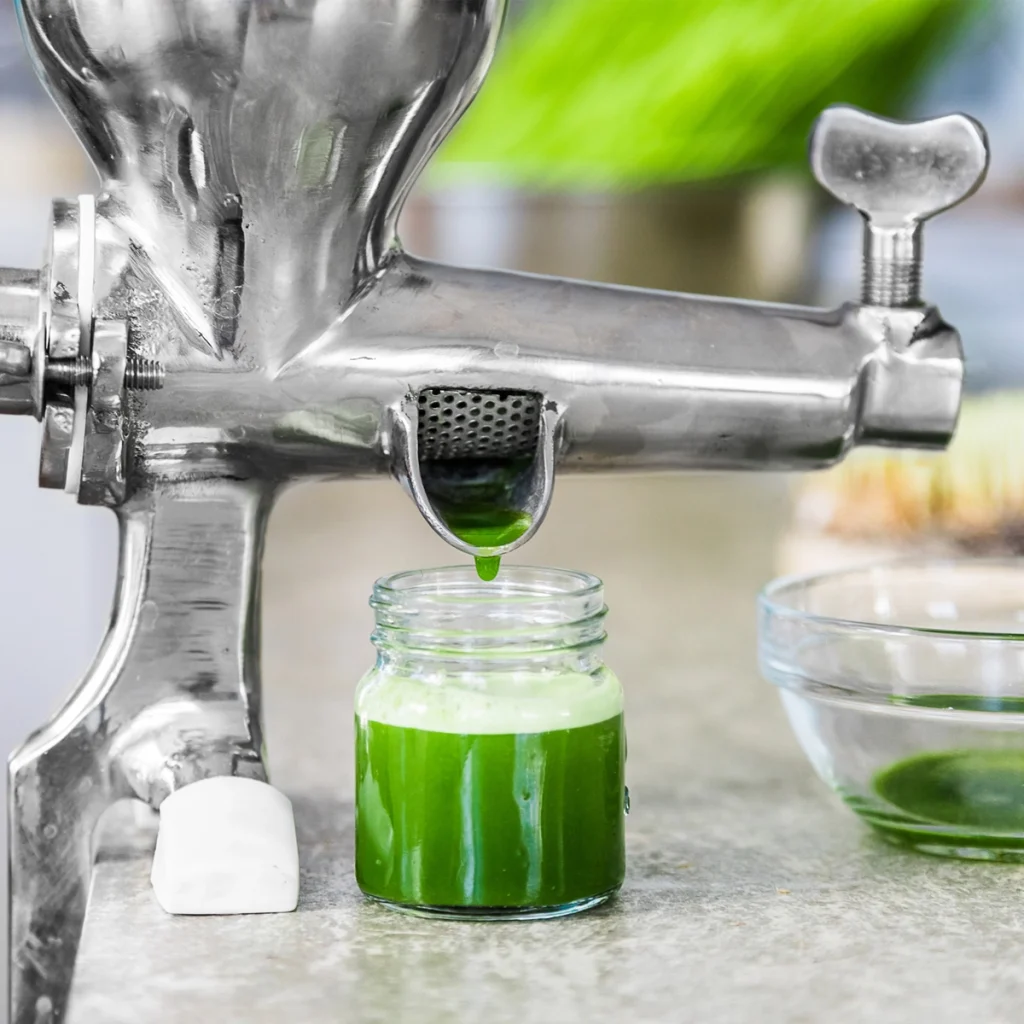
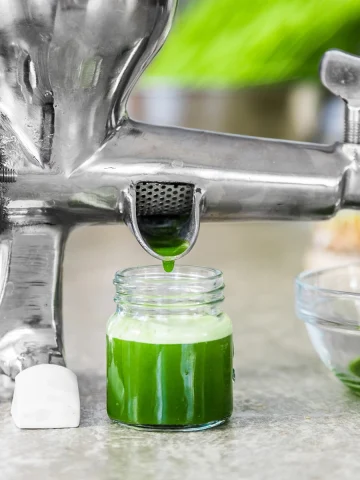
You can continue growing grain sprouts to make barley or wheatgrass, which is perfect for juicing.
Fresh vegetable sprouts can be added to salads, soups, or other dishes, just like adding herbs and spices.
Did I answer everything you wanted to know about getting started sprouting seeds?
We covered a lot of material in this article.
I discussed what is sprouting and the best types of seeds to sprout. We went over the equipment you will need to get started sprouting seeds.
Then I talked about the most common methods of sprouting seeds, either in a glass jar, plastic grow tray, with a sack, or even in a terracotta saucer.
Lastly, we covered the health benefits of eating sprouted seeds and ways to cook with them. I hope you found this post helpful, and you start enjoying sprouting seeds with your family.