How to Make Homemade Milk Kefir
We are breaking down the basics of making homemade milk kefir, a probiotic-rich fermented drink soon to be a staple in your kitchen!
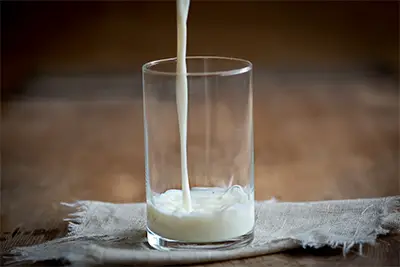
Kefir is a cultured milk drink that, after fermentation, acquires a wonderful sour and sometimes effervescent taste. This tanginess brings a whole new flavor to smoothies, lassis, and other drinks, just as you would use yogurt or regular milk.
What are the health benefits of drinking Kefir?
Milk kefir is full of probiotics, similar to yogurt and other cultured and fermented products. The probiotics aid in healthy digestion. The fermenting process also changes some of the protein structures in the milk, making it easier to digest. Some people who can’t tolerate milk feel better drinking milk kefir.
Related: Kefir Water vs. Kombucha
Ingredients for making Kefir:
One tablespoon of Kefir Grains
2 cups of whole fresh Milk (raw milk is the best option; however, unhomogenized is also acceptable. Never use skimmed or low-fat)

Directions for making Kefir:
Place both the milk and kefir grains into a wide-mouth, quart-size jar. Toss the mixture by gently shaking the jar to ensure the grains are completely coated in milk.
Loosely place the lid on the jar and cover it with a fine cloth.
Store in a cupboard for between 24 hours (at least) and two days (for an excellent sour, tangy flavor!) – the longer you leave the milk to ferment, the more lactose is consumed by the grains, and the more enzymes are created.
This is the fermentation stage. During this time, the healthy bacteria and yeast in the kefir grains will ferment the milk, preventing it from spoiling while transforming it into kefir.
During this stage, it is important to gently shake the jar now and again to ensure proper and even fermentation.
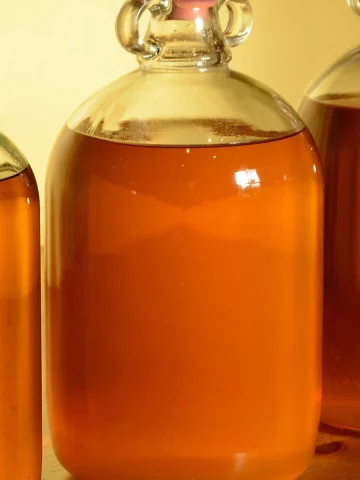
Don’t be alarmed when your milk separates into a thick white yogurt (on the way to becoming curd) and a yellowish clear liquid (whey). This is a sign that the process is successful.
Strain out the kefir grains from the liquid: Place a small strainer over the container you'll use to store the kefir. Strain the kefir liquid into the container and catch the grains in the strainer.
The whey liquid it the finished product you will drink or add to your favorite kefir smoothie recipe.
Once you are satisfied with the consistency of the kefir (thickness and fermentation), you can either drink it immediately in its natural state or turn it into your favorite smoothie! Check out my banana kefir smoothie and strawberry kefir smoothie recipes.
The good news is that as long as they stay healthy, you can reuse kefir grains indefinitely to make more kefir. The best way to keep them healthy is to keep making kefir! You can make a new batch of kefir roughly every 24 hours (the temperature of your kitchen can affect the exact time) just by putting the kefir grains in a fresh cup of milk.
Over time, the grains will multiply, and you can either discard the extra or share it with friends & family. You can also take a break from making kefir by putting the grains in a new cup of milk and storing it in the fridge.


