Originally published on April 4, 2020. Last updated on April 18, 2024
How to Make Honey Mead: One Gallon Honey Mead Recipe
Learn how to craft delicious honey mead at home with our simple one-gallon recipe guide. Explore step-by-step instructions for brewing your own batch of this classic beverage!
The Essential Mead-Making Equipment
Before delving into the mead-making process, ensure you have the necessary equipment to facilitate a successful fermentation. Here's a brief list of items you'll need:
- A one-gallon glass jug with an airlock (lid included)
- Sanitizer for proper sterilization
- A large pot for heating
- A long-handled spoon for stirring
- A large funnel for easy pouring
- Thermometer
- Beer Bottles with flip cap
- Yeast (such as champagne yeast or other wine yeast)
- Non-chlorinated or filtered water
- Honey (2-3 pounds, depending on desired sweetness)
- One orange
- Optional: Raisins (approximately 10)
- Optional: Fresh or frozen berries (about a cup)
[lasso rel="nutrichef-all-in-one-home-beer-brewing-mash-and-boil-device-with-circulation-pump-5-piece-stainless-steel-set-9-gallon-1600w-max-w-lcd-display-programmable-multi-step-mashing-control-system" id="35975"]
Ingredients for making 1-Gallon of Honey Mead:
- 2 ½ to 3 pounds of raw or unpasteurized honey is best. Buy here
- 12 cups of water (Do not use chlorinated water! If you are on city water, use spring water at your local store. If you are on a well, your water should be fine unless you have a water softening system)
- ½ package champagne yeast or wine yeast
- Optional flavoring ideas: berries or fruit of any kind, fresh or frozen, and/or raisins
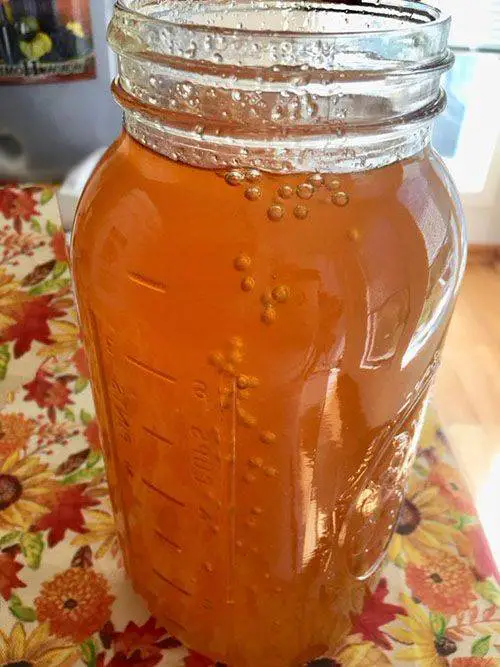
How Much Honey Do I Need for 1 Gallon of Mead?
To make one gallon of honey mead, you will need between 2-3 pounds of honey. You can choose exactly how sweet you'd like your mead to be, 2 lbs if you want it on the dryer side, and 3 lbs if you'd like it to be sweeter mead.
[lasso rel="hck-24-inch-universal-outdoor-beverage-refrigerator-full-size-kegerator-2-in-1-keg-beer-cooler-with-3-taps-complete-accessories-digital-control-auto-defrost-and-reversible-stainless-steel-door" id="35838"]
Mead Recipe Step-by-Step
1. Cleaning and Sterilizing
First, you'll need to sanitize all of your equipment. I cannot overstate the importance of this step!
Failing to sanitize properly can render all of your efforts useless. The presence of bacteria or other microorganisms can ruin your mead before you even get it started.
There are many brands of sanitizers available. Anything that thoroughly kills bacteria will do the trick (do not use bleach), but I've always used Star-San in my homebrewing.
It’s a simple but effective liquid sanitizing solution that can be purchased at any brewing supply store or on Amazon.
Make sure that your entire working area is clean before you begin.
Use a large container such as a 5-gallon bucket to dunk all equipment, including the jug, airlock, spoon, pot, airlock, funnel, and thermometer.
[lasso rel="craft-a-brew-mead-making-kit-reusable-make-your-own-mead-kit-yields-1-gallon-of-mead" id="35803"]
2. Make the Must
Add a half-gallon of clean filtered water to the large pot and bring it to a warm temperature, but do not bring it to a boil.
Add 2-3 lbs of raw honey (2 pounds for a dry mead or 3 pounds for a sweet mead) to the pot. Stir until it is well blended but do not bring to a boil.
Heating the honey and water may produce foam on the surface, called a 'must'; you can skim it off or leave it as it will not affect the recipe.
Once the honey and water are thoroughly combined, remove from heat and let and let the mixture cool until room temperature.
3. Combining Honey Water and Fruit
Using a funnel, carefully pour the honey water mixture (or "must") into the jug containing the fruits. This infusion creates the base of your mead's flavor profile.
Top off the jug with cool, non-chlorinated water, ensuring at least 2 inches of headspace remains at the top.
Fruit juice, berries, and herbs all make great flavor options. Put the lid on the carboy and give it a little swirl to mix everything well.
4. Pitching the Yeast
The next crucial step involves adding the yeast to initiate fermentation. Before pitching the yeast:
- Ensure the must's temperature is below 90°F (32°C). You can use a thermometer to confirm.
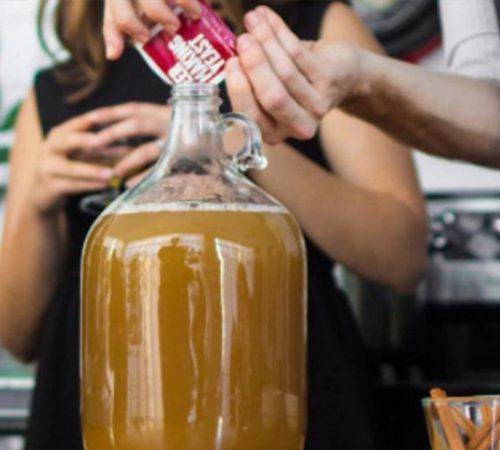
- Once the temperature is suitable, add ½ package of yeast (champagne or wine yeast) to the jug.
- Secure the jug's lid tightly and shake it gently for a few minutes to distribute the yeast evenly.
**yeast doesn't do well with temperatures over 90° Fahrenheit.
To learn more about yeast, check out my post on choosing the right yeast for brewing mead.
5. Add The Airlock
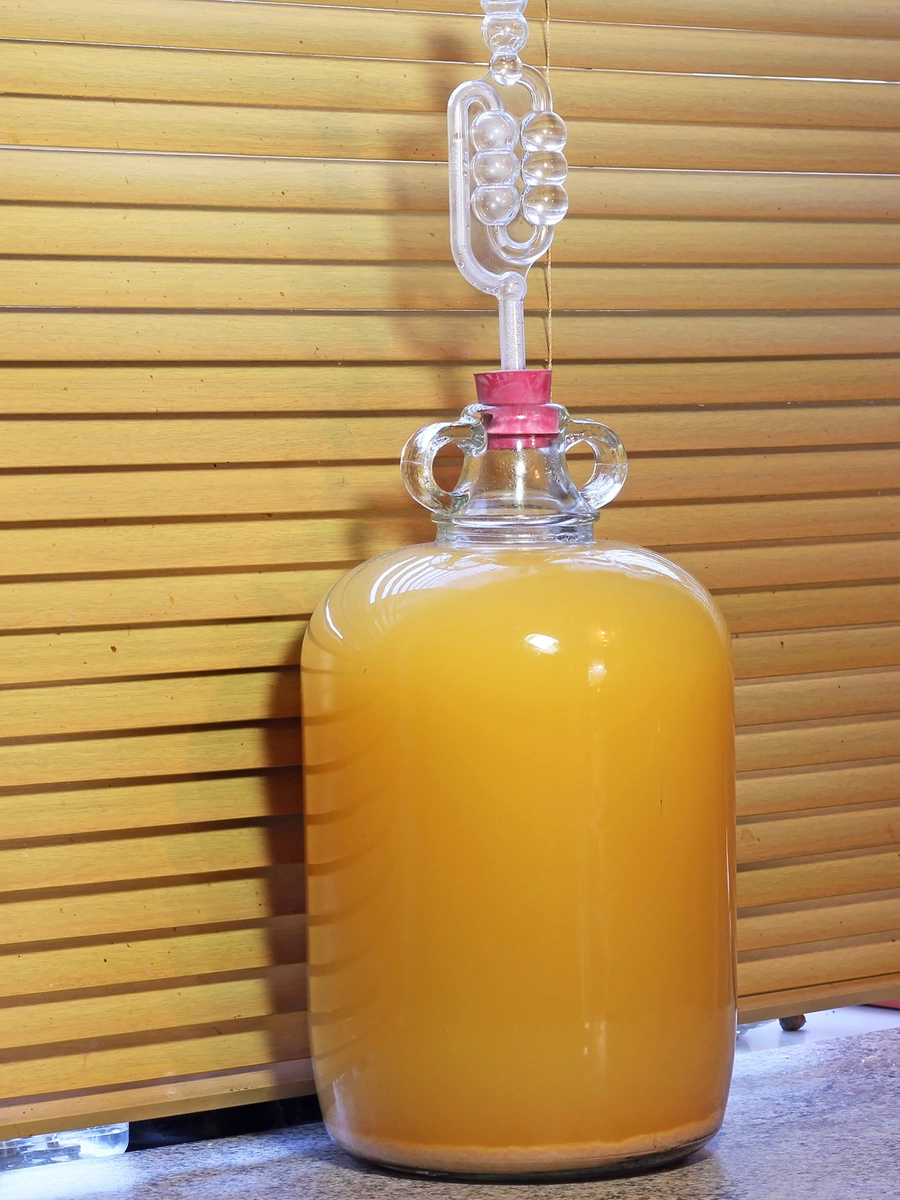
Attach the airlock to the jug's lid. Fill the airlock with water to the specified line and place the rubber stopper into the jug's opening. This apparatus prevents contaminants from entering the jug while allowing carbon dioxide to escape during fermentation.
Bubbles should begin forming in the airlock within a few hours, indicating that fermentation is underway.
6. Patiently Allowing Fermentation
Store the carboy in a cool dark place to complete the first fermentation stage.
Within 24 hours, you should see some activity in the airlock. A few bubbles and foam appear at the top of the bottle.
Fruit and herbs can make their way into the airlock. If this happens, clean the airlock thoroughly to prevent an explosion from carbon dioxide buildup.
You will want to frequently check it to ensure that there aren't any leaks.
Unlike other fermented beverages, mead requires a more extended fermentation period—typically lasting between 4 to 6 weeks, depending on the ambient temperature. The absence of visible bubbles and a still airlock indicate that fermentation is complete.
7. Bottling Your Mead - Second Fermentation of Mead
Once fermentation concludes, it's time to bottle your mead. This step involves siphoning the clear mead from the jug's top while leaving the sediment at the bottom behind.
You can use a siphon for this purpose. The fruit components have fulfilled their role at this point, and you can discard them.
After 4-6 weeks, you can begin "racking" or siphoning the mixture into a second container leaving the sediment at the bottom of the first container.
Cover again with an airlock, and let the mead sit for at least another month. You can siphon the finished mead into bottles and cork them this time.
8. Aging and Enjoying Your Creation
After bottling, it's recommended to let your mead age for some time to develop its flavors. While some enthusiasts enjoy the "green" (young) mead, aging can bring out more intricate and refined taste profiles. Allow your mead to age for several months, or even up to a year, to experience the evolving flavors.
Less than two months old, Mead is called "green" or young, and it is pretty enjoyable at this point. Try it out, and take notes of the flavor and carbonation levels.
Save several bottles and taste them after several months or a year to see how the time affects the taste of the mead.
Flavor Options for Homemade Honey Mead
There are many types of mead. You can enhance the mead's flavor by adding fresh fruit, wildflower honey, raw honey, fruit juice, grape juice, and even orange peel.
You can even add spices or herbs to the fermentation process. Depending on the honey used, fruit additions can make it sweeter or drier.
Melomel is a mead made with fruit. A long time ago, making mead with fruit was a method of preserving summer fruits for winter consumption.
Mead, made with spices or herbs, is called a Metheglin.
You could also use apple cider instead of water, and then you'd have a cyser. Check out our Apple Cyser recipe.
Whether you want to jazz it up with fruits, spices, or herbs, or if you wish to make a simple, delicious mead, the process is the same and will yield great tasting results.
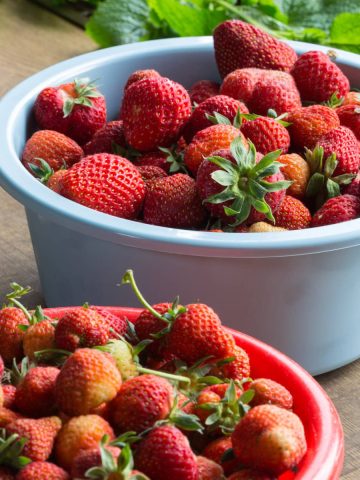
Try our Strawberry Mead recipe.
Crafting Variations and Exploring Possibilities
As you become more familiar with the mead-making process, consider experimenting with different honey varieties, fruits, and flavor additions. This recipe serves as a solid foundation; you can create various mead styles that align with your taste preferences.
Related Topic: How long does mead take to ferment?
Creating homemade mead is a rewarding journey that connects you to ancient traditions and allows for creative exploration. This guide has provided a comprehensive walkthrough, ensuring your success as you craft a gallon of mead from scratch.
Following these steps and embracing the art of mead-making, you can create a delightful beverage that captures the essence of centuries-old brewing techniques.
Remember, mead-making is as much about the process as the final product—enjoy the experience and savor the flavors of your labor. Cheers to your mead-making adventure!
Brewing good mead can be a highly satisfying experience. Don't expect to win any awards with your first or second batch. Like anything else worth doing, it will take time to master making mead at home.
But with patience, the right ingredients, equipment, and some practice, you will.
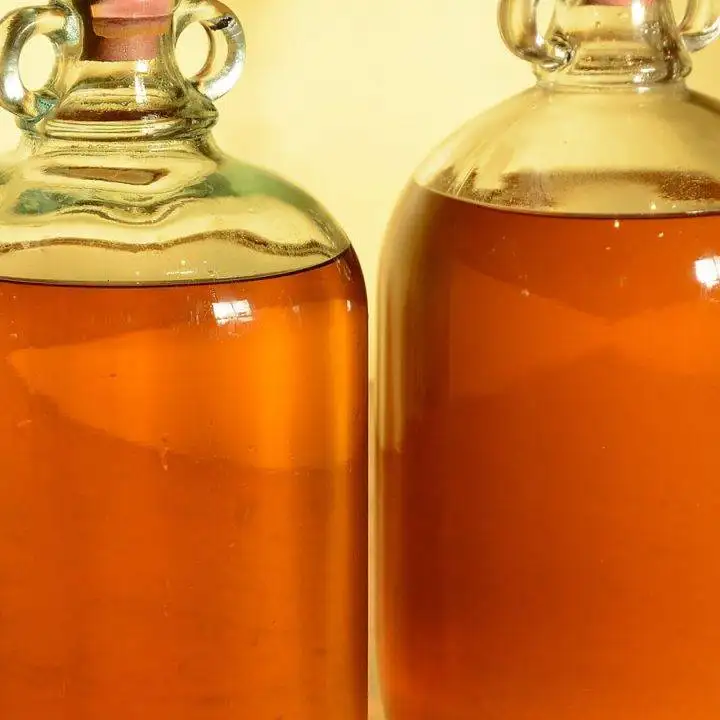
Honey Mead
This easy honey mead recipe takes just a few steps to complete. The honey is the star of the show in this recipe. It is essential to use high-quality honey that will produce a great flavor.
Ingredients
- 2 ½ to 3 lbs. raw unprocessed honey
- 1 orange sliced with the skin on
- Optional fruit: berries or fruit of any kind, fresh or frozen, and raisins
- Optional Spices: cloves, cardamom, nutmeg, etc
- ½ package champagne yeast or wine yeast
- 12 cups water
Instructions
- Sanitize your equipment: pot, jug, funnel, airlocks, spoon, etc. Follow the directions on the sanitizer package.
- Heat ½ gallon of non-chlorinated water in the large pot on medium heat, do not boil. Add the honey and stir until it fully dissolves. Remove from heat.
- Add the sliced orange, its peel, and any additional berries, fruit, raisins, and herbs to the one-gallon jug.
- Using a funnel, pour the honey-water mixture into the jug.
- Leave at least 2 inches of headspace at the top. Add additional cold water if needed.
- Secure the lid and shake well.
- When the temperature drops below 90°F, add ½ package of the yeast.
- Cap the bottle and give it a gentle shake to mix the yeast.
- Place the airlock on the jar, add a little water to the line, and then put the rubber stopper end into the jug.
- You should see bubbles within the first 48 hours.
- Store the jug in a dark and cool place, or cover it with a towel. It will take about 4-6 weeks to ferment.
- It is ready when the bubbling has stopped or slowed to once every minute instead of every few seconds as it did initially.
- The liquid will be clear, and the yeast will settle to the jug's bottom.
- Do a taste test. Use a clean straw for tasting but be careful not to backwash into the mead.
- If you like the flavor, it is ready to bottle the mead.
- If it is too dry and you prefer a little sweeter, you can back-sweeten the mead.
Notes
Equipment:
- One-gallon glass jug/carboy
- Large stainless-steel pot
- Large stainless-steel spoon
- Funnel
- Sanitizer- recommend Star San
- Airlock and rubber stopper
- Thermometer
What is Mead?
Mead is a fermented beverage made of honey, water, and yeast, often called “honey wine.” During the primary fermentation stage, the yeast converts the sugars in the honey to alcohol.
Understanding Mead: A Brief Overview
When fruits are introduced into the mix, they take on various names, like melomel (fruit-infused mead) or cyser (mead made with apple cider instead of water). The endless possibilities for flavor combinations allow you to craft unique variations that suit your preferences.
Related topic: How much alcohol is in mead?
History of Mead
The exact origins of mead are unknown or at least widely disputed. Most often, mead is associated with Nordic Vikings celebrating battles and long voyages with mead.
However, some historians believe ancient Greeks consumed a honey-and-water mixture to honor the goddess Aphrodite, one reason why it’s called the “nectar of the gods.”
Historians also believe it originated in Africa from 20,000 to 40,000 years ago. Where tribes would drink the liquid created by honeybees that used hollowed-out tree trunks to build their hives.
While the English would often infuse their mead with herbs to aid digestion or improve depression.
Honey wine was also an essential part of a new marriage celebration. The phrase “honeymoon” comes from mead; after marriage, a couple was supposed to drink this honey liquid to boost fertility.
To learn more about mead, check my article What is Mead?
Related Posts and Recipes
You've reached the right place if you enjoyed this basic mead recipe and are curious about mead. Check our FAQ about Mead Making, where we share all the information you need about mead-making.
Check out our favorite Honey Mead home brewing products page to find everything you might need to help make your mead a success!

