A Beginner's Guide to Homebrewing a Simple Hard Apple Cider
Hard Apple Cider is a fermented drink made up of two simple ingredients, apple juice, and yeast, and is quite possibly one of the easiest drinks to make at home. In this recipe, we are using store-bought pasteurized apple juice.
In this article, we’ve included a list of equipment you need and step-by-step instructions on how to make your first batch of hard apple cider.
Why make hard cider at home?
One of the best parts about brewing hard cider at home is you can do it with a relatively minimal amount of equipment. Some of the items you may even already have laying around the house. You can take a few different approaches with your cider-making equipment setup.
Today, we will include what we feel is a good middle ground between the "bare bones" starter kits and the "all-star" cider-making equipment. This equipment list will allow you to create up to 5 gallons of homemade cider in the comfort of your home and includes a few of the lesser expensive bells and whistles to help make the process easier for you.
Beginners and seasoned cider makers alike can learn something from the article.
What You Need to Make Hard Apple Cider
Fermentation Equipment
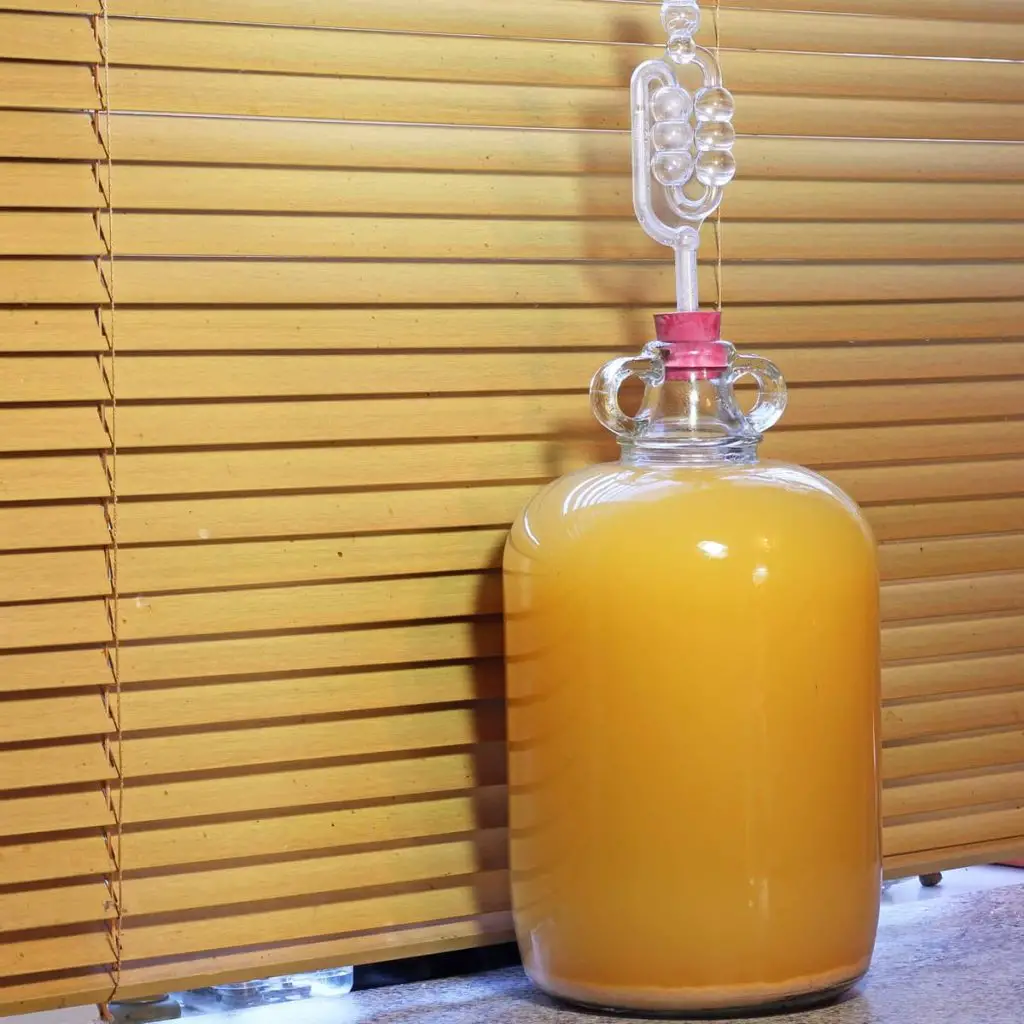
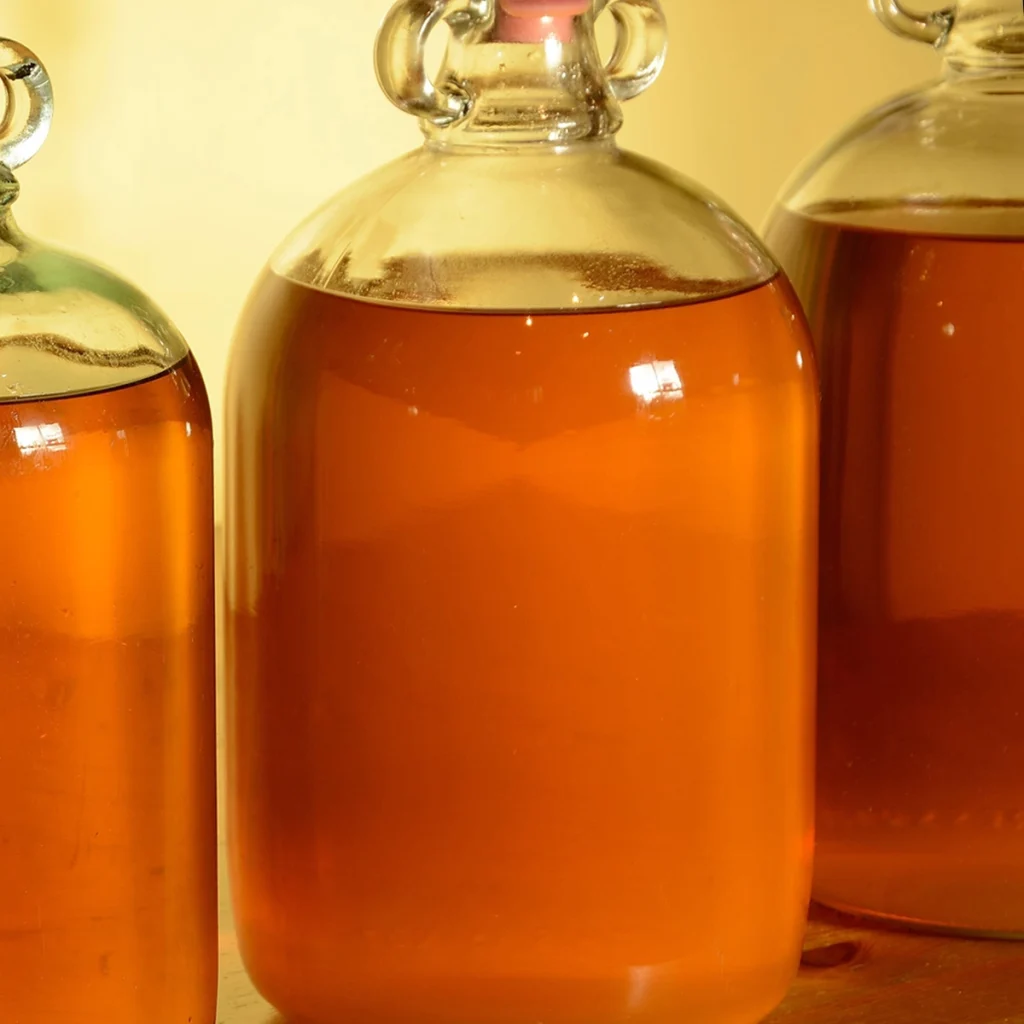
- 6.5 Gallon Carboy - A carboy is a vessel you will use to ferment your homemade cider. We like using carboys as they are a single sealed vessel with fewer opportunities for infections.
- Bung - A bung, a.k.a rubber stopper, is the piece of equipment that will cover the opening of the carboy. As there are many different sizes and shapes of fermenters, ensure you purchase the correct size for your carboy.
- Airlock - An airlock allows the c02 produced during fermentation to escape the fermenter while also ensuring nothing can get inside the carboy.
- Large Funnel - Having a large funnel on hand will make transferring your cider to the carboy much easier!


Last update on 2024-09-29 / Affiliate links / Images from Amazon Product Advertising API
Cleaning and Sanitation Equipment
- Two 5 gallon buckets - We like to have a couple of additional buckets handy to mix up batches of cleaner and sanitizer while we work through the process. Since these will not be holding cider, feel free to pick up inexpensive buckets from your local hardware store.
- Cleaner - You must clean all the brewing equipment before starting to help reduce the chances of infection during fermentation. We recommend using a scent-free oxygen-based cleaner like PBW.
- Sanitizer - With your equipment clean and free of dirt and debris, it's time to sanitize it! We recommend using an acid-based, no-rinse sanitizer to sanitize your brewing equipment. Five Star makes a great one called "Star san," the go-to sanitizer of many homebrewers.
- Carboy Brush and Airlock Brush - Due to the unique shape of the carboy and airlock, you must buy special brushes to clean them out once the fermentation process.


Last update on 2024-09-29 / Affiliate links / Images from Amazon Product Advertising API
Bottling Equipment
- Siphon hose and Tubing - Once your cider has finished fermenting, you will need a way to transfer the cider out of the carboy. A siphon is an excellent choice for this task. We recommend an auto-siphon to help simplify the process. When purchasing a siphon, be sure you pick up 5-6 feet of beer line tubing that matches the diameter of your siphon.
- Bottles - You can use bottles of any size so long as you have a way to seal them properly. Commonly people will reuse bottles from commercially purchased beer.
- If you go this route, you will want to make sure that the bottles are pry-off style and not twist top. If you are using the standard 12oz beer bottles, you will need 10 for every gallon of cider you are making.
- Bottle Brush - A bottle brush will ensure the remaining gunk in your bottles is adequately removed.
- Bottle filler and hose - A bottle filler made for homebrewing should be purchased to aid in the bottling process. These bottling wands allow for an easy, one-person transfer of the cider from the bottling bucket into the bottles. Be sure you also pick up 2-3 feet of beer Tubing that matches the diameter of your bottling wand.
- Bottle Capper and Bottle caps - Once your beer is in the bottle, you'll need a way to seal it! There is nothing wrong with the trusty red capper, which can be found online or at your local homebrew shop. While you are there, pick up a package of bottle caps. Most of the time, they should come in a pretty hefty package that should get you through 4-5 batches of bottling.
- 5 Gallon Bottling Bucket - When you are ready to siphon your cider to prepare for bottling, you will need to have a vessel to transfer it into. We recommend purchasing a bucket that has already been ready for the bottling process. These buckets should have a hole already drilled towards the bottom where a spigot can be attached, allowing access to the cider.
Testing Equipment
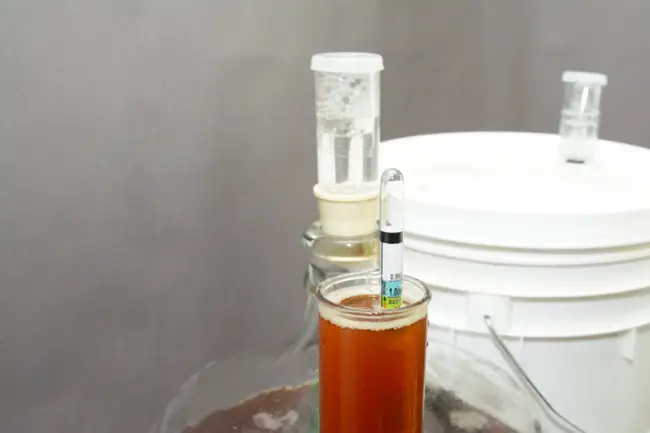
- Hydrometer and test tube - A hydrometer is a tool that will test how much sugar is remaining in your fermented cider. By testing the sugar level during fermentation, you will know when the cider has finished fermenting and is ready to bottle. The initial hydrometer reading indicates the total possible alcohol content of the final product, testing throughout the process gives updates on progress on fermentation, and testing at the end determines that fermentation is the complete and final alcohol content.
- Wine Thief - A wine thief will allow you to easily collect a gravity sample of your cider once it is time to take measurements. We prefer to use a wine thief that comes apart and is easy to clean
Ingredients
One of the key benefits of making cider at home is that you can make it from just two simple ingredients!
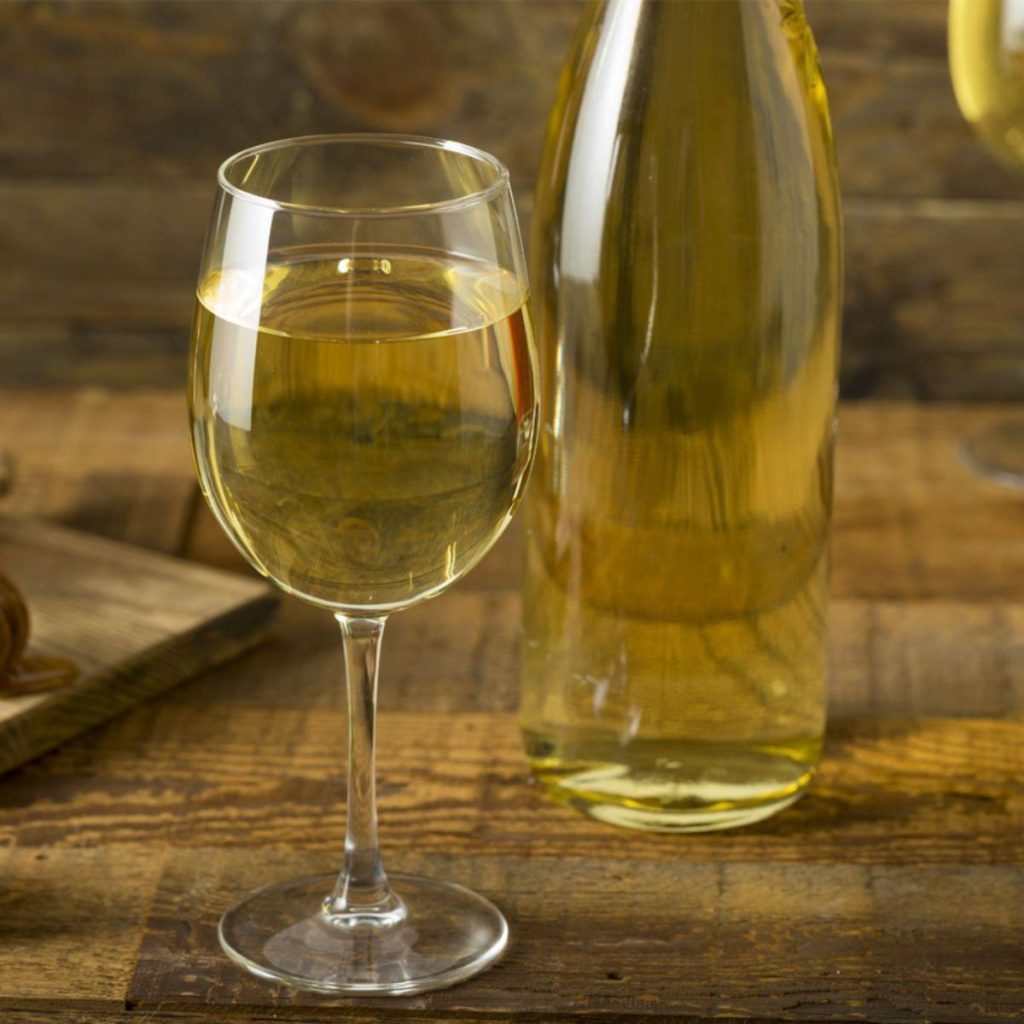
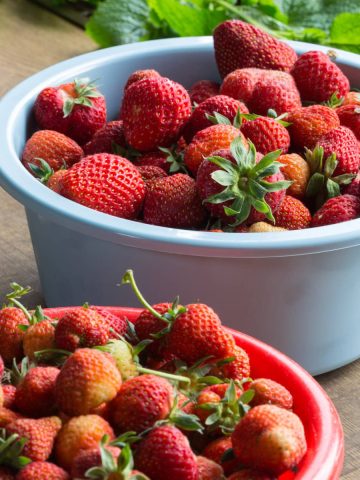
- Apple Juice/Cider - The Star of the show! For our recipe, we will be using store-bought juice or cider. Regarding store-bought juice, from our experience, any brand or type will do the trick. You will want to make sure the juice you buy does not have any preservatives in it (look for things like Potassium Sorbate etc.). Preservatives may hinder the yeast during fermentation. Flavor additives (such as Malic or Citric Acid) are ok.
Note: You can skip the Campden tablets altogether if you are using pasteurized juice. Pasteurization will have already killed the wild yeast.
- Yeast - Yeast has the job of eating the sugars present in the apple juice, converting it into alcohol. A wide variety of brewing yeast available on the market would work well for cider. We recommend using the" Cider House Select" dry yeast strain for our ciders because it already contains nutrients for cider fermentation.
Optional Ingredients:
- Safale US-05 is an excellent alternative that should ferment without additional yeast nutrients required. Safale yeast is ideal for American beer types, cider, mead, and highly hopped beers.
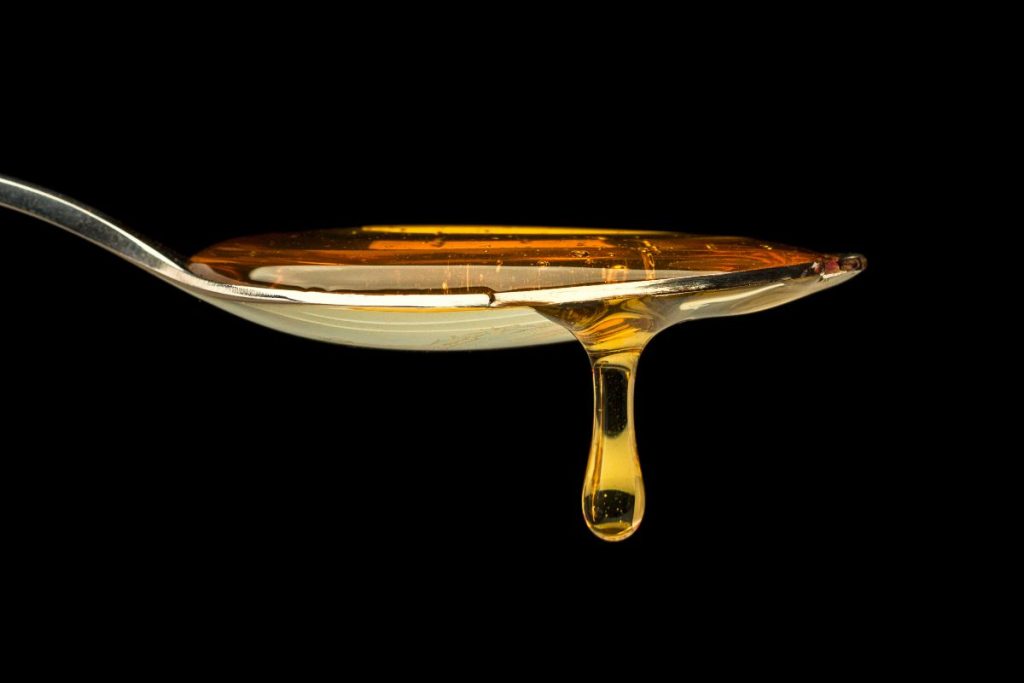
- Sugar - to increase the alcohol in the final cider, any sugar added before fermentation is converted into alcohol during fermentation, creating a higher alcohol content of the final product. Common types of sugar used are frozen apple juice concentrate, honey, brown sugar, and dextrose.
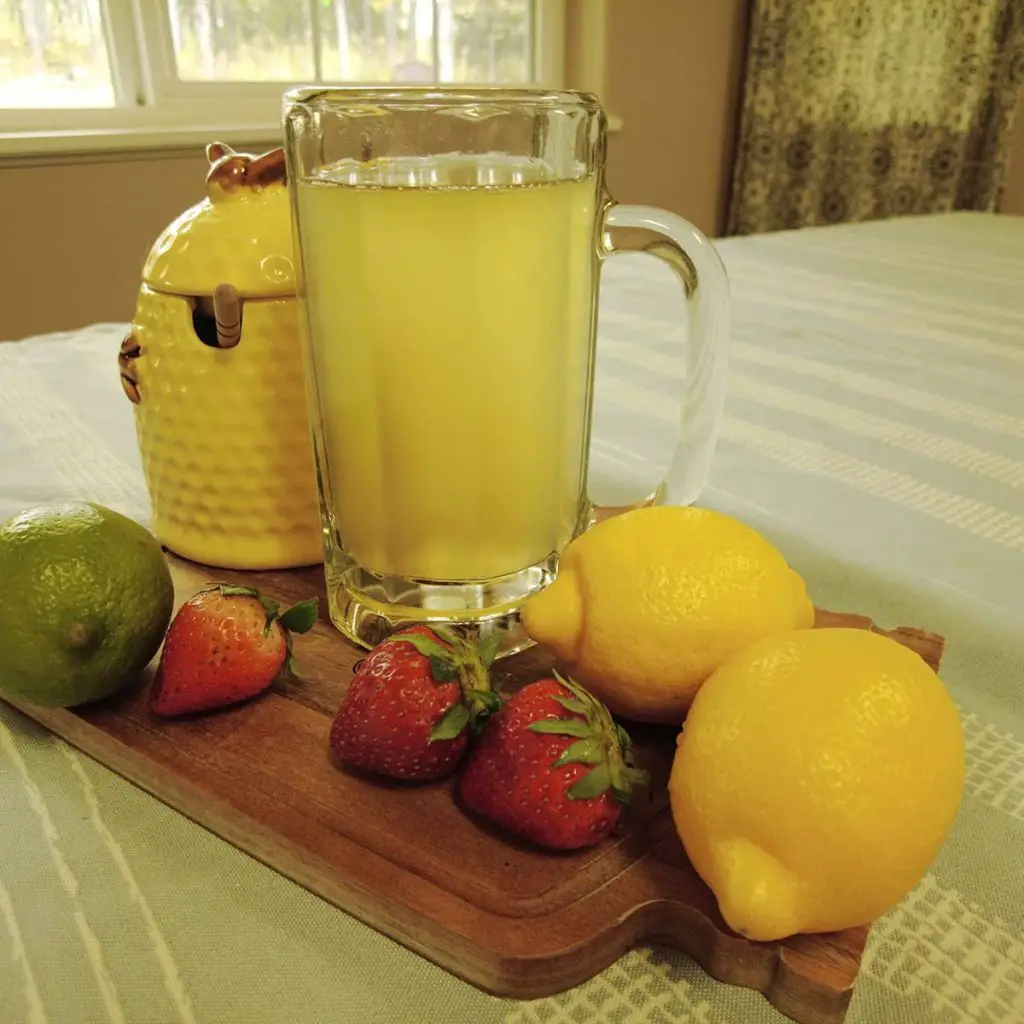
- Flavor options– cinnamon sticks, fruits, spices, herbs, flowers, etc
How to make sweet cider:
Sugar substitute – A common way to make a sweeter cider is to use a sweetening agent that the yeast won't consume (called non-fermentable). The most commonly used hard cider sweeteners are sugar alcohols, natural sweeteners, and artificial sweeteners.
How to make a dry cider:
If your goal is to create a very dry fully-fermented cider, you'll want to use a high-alcohol yeast (like Lalvin EC-1118 champagne yeast), add extra sugar, and then let your cider ferment for a full 4-6 months. This means 1-2 months in your primary fermentation and another 2-3 months in the secondary fermentation with a final month (or more) conditioning after being bottled.
How To Make Hard Apple Cider
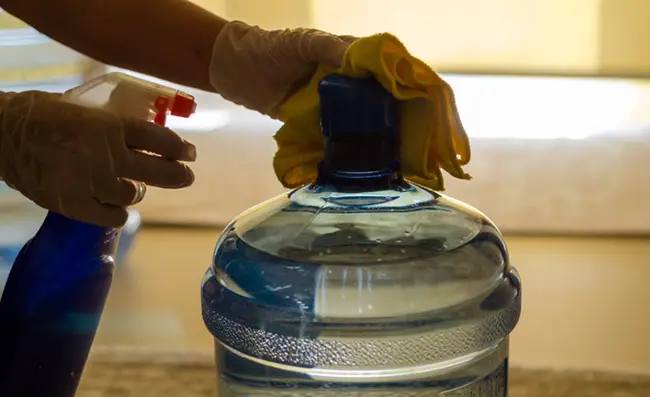
1. Clean and Sanitize the equipment
- Following the manufacturer's instructions, create 5 gallons worth of cleaner and 5 gallons worth of sanitizer using the two 5 gallon buckets.
- Fill the carboy full of water. Add an appropriate amount of cleaner and shake to dissolve.
- Using the carboy brush, clean the inside surfaces of the carboy. Ensure any dirt or grime is no longer present in the carboy or fermentation vessel of choice. Once clean, dump the cleaner from the carboy.
- Use a soft sponge or rag to clean the large funnel and bung using water from the cleaner bucket. Once clean, place the items into the bucket of sanitizer.
- Clean the airlock using the airlock brush. Once clean, place it into the bucket of sanitizer.
2. Add the Apple Juice and Yeast to the Fermenter
- Place the funnel into the carboy opening and pour 5 gallons of Apple Juice/Cider into the carboy.
- Note: Since this recipe uses pasturized apple juice it does not need to be heated up like most recipes require.
- Open the yeast packet using sanitized scissors. Add the whole packet of dry yeast into the carboy.
- Cap the jug and give it a good shake to combine everything.
- Place the bung into the fermenter. Then place the airlock into the bung.
- Add enough sanitizer into the airlock to meet the "fill" line.
3. Primary Fermentation
- Fermentation is the process of yeast converting the natural sugars in the apple cider into alcohol and carbon dioxide gas.
- Move the fermenter to a cool place, away from direct sunlight where the room temperature will be between 62 - 75 degrees Fahrenheit.
- Before bottling, allow the cider to ferment for 2-4 weeks. Exactly how long you leave the cider to ferment will depend on your taste.
- If you like sweet cider, bottle it after two weeks. Wait four weeks for a dry cider.
- During fermentation (especially during the first 3-4 days), you should be able to see bubbles from the c02 escaping from the airlock.
- After 2-4 weeks, clean and sanitize the wine thief.
- Place the hydrometer inside of the test tube.
- Remove the airlock and bung from the fermenter. Using the sanitized wine thief, to "steal" a cider sample by placing the thief into the cider. Once in the cider, place your thumb over the top hole of the wine thief to create a vacuum, then quickly remove it from the carboy.
- Place the tip of the wine thief into the test tube, and release your thumb from the hole. This will allow the liquid to flow into the test tube from the thief.
- Repeat the above step until enough cider is in the test tube to cause the hydrometer to float.
- Read the side of the hydrometer to determine the current gravity of the cider. Record the gravity level. Discard the sample (do not pour the cider back into the carboy).
- Allow the cider to rest for an additional 72 hours, then repeat. If the gravity reading is the same, you are ready to move on to bottling. If the gravity has changed (is lower), wait for an additional 72 and repeat steps again.
4. Measure Specific Gravity of the Cider
A hydrometer reading measures the specific gravity (SG) or sugar content of the apple juice. This reading will allow you to calculate the potential alcohol of the final drink.
In simple terms, the more sugar used equals higher alcohol content.
The initial reading is called the original gravity (OG). This measurement is taken during fermentation to see how well the cider ferments and after fermentation to measure the final gravity (FG).
The OG and SG are used to calculate final alcohol by volume.
How to take a hydrometer reading:
- Fill a test tube with a sample of cider
- Place the hydrometer into the tube and give it a slight spin
- Take reading where the meniscus intersects the scale
- Document the specific gravity reading in a cider logbook
- Discard or consume the sample; do not pour it back into the primary fermentor
5. Cleaning and preparing the bottling equipment
Be sure to clean and sanitize all items used in the process of bottling the hard apple cider. That includes hoses, tubes, the outside and inside of the siphon, spigot, bottles, and caps.
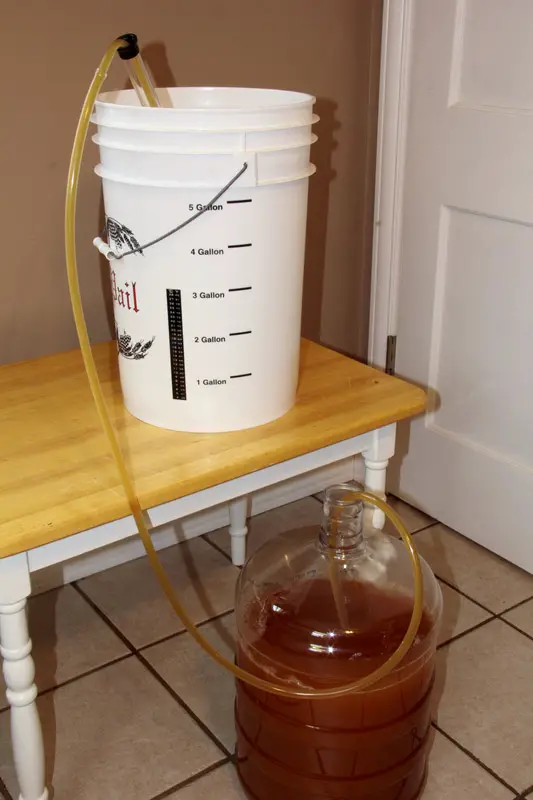
6. Bottling
- Ensure the carboy of cider is placed on a higher surface than the bottling bucket to ensure the gravity-fed siphon can do its job correctly.
- Place the tip of the bottling bucket into the cider. Your goal is to place the tip as close to the bottom of the bucket as possible without touching the sediment layer formed during fermentation (stay at least 2-3 inches above it).
- Place the hose end of the siphon into the sanitized bottling bucket.
- Raise the siphon up and down 2-3 times to start the siphon.
- Continue to allow the cider to transfer into the bottling bucket until all cider has moved.
- Hook up the hose end of your bottle filler to the bottling bucket spigot.
- Open the valve of the spigot.
- Place the tip of the bottle filler into a bottle. Press the tip downwards onto the bottom of the bottle to depress the spring and allow the cider to fill the bottles.
- As the cider reaches the top of the bottle, pull the wand out, which will leave the proper amount of headspace in the bottle.
- Place a sanitized cap on the bottle and use the capper to press down and seal the bottle.
- Repeat the process until all of the cider has been transferred to bottles.
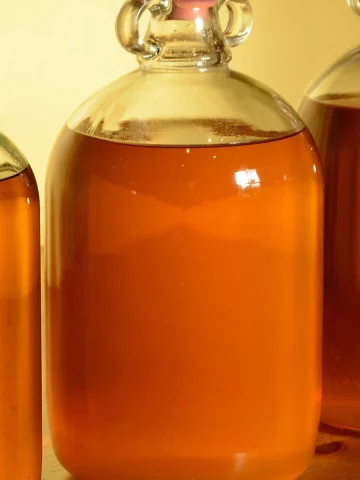
- Leave the bottled cider to ferment at room temperature for another 1-2 weeks until it is carbonated. Store the cider in the fridge and enjoy it within two months.
More Fermented Drink Recipes
Now that I've shown you how to make homemade hard apple cider, chances are you will want to make more soon!
Feeling adventurous? Try our one-gallon batch of honey mead recipe and Apple Cyser Mead recipe.
Have more questions about fermenting cider or mead? Check out this post, Mead Making Faq's and How to choose the right yeast for making mead.
Cheers and happy homebrewing!