Fermented Pickles Recipe: Learn How To Naturally Ferment Pickles
Welcome to our comprehensive guide on how to make the most delicious and flavorful Lacto-fermented pickles with garlic and dill. If you're a pickle enthusiast like us, get ready to embark on a journey to pickle perfection.
In this guide, we'll provide you with an easy step-by-step recipe to create Lacto-fermented pickles that are tangy, crunchy, and packed with healthy probiotics.
Not only are these pickles a treat for your taste buds, but they also offer numerous health benefits. So, roll up your sleeves, and let's dive into the world of homemade fermented pickles!
Jump to:
- Fermented Pickles Recipe: Learn How To Naturally Ferment Pickles
- The Magic of Fermented Pickles
- The Best Cucumbers for Pickles
- Lacto-Fermented Pickles vs. Vinegar Dill Pickles
- Why Ferment Pickles?
- Fermented Pickle Recipe
- How Long Does it Take to Ferment Pickles?
- Time to Enjoy Your Naturally Fermented Pickles
- Expert Tips for Fermenting Pickles:
- Fermented Pickles
The Magic of Fermented Pickles
Fermented pickles offer a unique twist on the classic vinegar-based pickles. Instead of relying on vinegar for tanginess, fermented pickles achieve their delicious flavor through a natural process of lacto-fermentation.
During fermentation, beneficial bacteria convert the natural sugars present in the cucumbers into lactic acid, giving the pickles their characteristic tangy taste.
This process enhances the flavor and provides you with a healthy dose of gut-friendly probiotics.
So, how do you make naturally fermented pickles, and how long does it take? This article takes you through everything you need about naturally fermented pickles.
The Best Cucumbers for Pickles
Choosing the Perfect Cucumbers
Selecting the right type of cucumbers is crucial to ensure your fermented pickles turn out amazing. Look for small pickling cucumbers, short (around 4-6 inches), and have thin bumpy skin. Kirby, Calypso, Royal, Pickalot, and Boston Pickling work exceptionally well.
Ensure that cucumbers are fresh, crisp, and free from soft spots when purchasing them. The quality of your cucumbers will directly impact the final taste and texture.
The overall consensus is that Kirby cucumbers work best for fermenting pickles.
Otherwise known as “pickling cucumbers,” Kirby cucumbers contain fewer seeds than regular cucumbers, are less watery, and are denser than the slicing variety.
Small Persian cucumbers also work well when fermenting pickles, as they are exceptionally crisp and crunchy.
The general rule for choosing cucumbers for fermented pickles is the smaller, the better. Use fresh cucumber with no soft spots, and do not use slicing cucumbers.
Slicing cucumber does not ferment well and will become soggy during the process.
In addition, these types of cucumber are often coated in wax, which will disrupt the fermentation of your homemade pickles.
Lacto-Fermented Pickles vs. Vinegar Dill Pickles
Lacto-fermented dill pickles and vinegar dill pickles are two different methods of pickling cucumbers.
Lacto-fermented dill pickles are made by immersing cucumbers in a brine solution, allowing them to ferment over time. On the other hand, vinegar dill pickles are made by pickling cucumbers in vinegar.
The main difference between the two methods lies in the fermentation process. Lacto-fermentation involves using beneficial bacteria called Lactobacillus that naturally occur on cucumbers.
These bacteria convert the sugars in the cucumbers into lactic acid, giving the pickles a tangy flavor. This fermentation process also enhances the nutritional value of the pickles by increasing the bioavailability of minerals and contributing vitamins.
On the other hand, vinegar dill pickles rely on the acidity of vinegar to preserve the cucumbers.
The low pH of the vinegar creates an acidic environment that inhibits the growth of bacteria, effectively preserving the pickles.
The choice between lacto-fermented dill pickles and vinegar dill pickles often comes down to personal preference.
Lacto-fermented pickles tend to have a tangier, more complex flavor profile, while vinegar pickles have a stronger vinegar taste.
Some people also prefer lacto-fermented pickles for their potential health benefits, as they contain probiotics due to fermentation.
Both methods have their merits, and it ultimately depends on your taste preferences and desired outcomes.
Why Ferment Pickles?
Fermented foods are delicious, loaded with probiotics, and easier to digest than cooked or raw vegetables. They also have an increased nutritional value compared to canned pickles that you’ll find in the aisle of your supermarket.
Related Topic: How to Find The Best Brands of Pickles with Probiotics
The lactic acid fermentation that occurs in the fermentation process increases the vitamins, minerals, and enzymes already found in the pickles.
This means you absorb more beneficial nutrients than you would without fermented foods.
Fermented Pickle Recipe
Step 1. Prep the Cucumbers
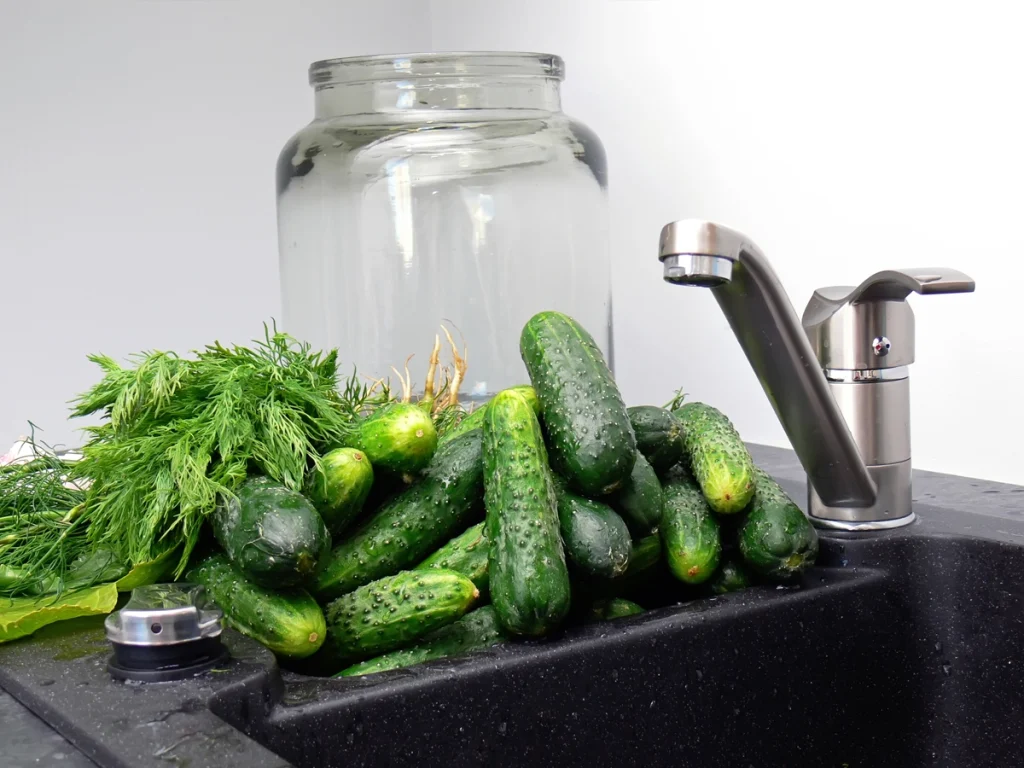
This recipe calls for 2– 2 ½ lbs of pickling cucumbers to fill two-quart mason jars. It is essential to choose your cucumbers carefully, ensuring they do not have any soft spots.
They should all be roughly the same size (4-6 inches long) and fit easily into the jar. This is important to ensure that they all ferment at the same rate.
Wash your cucumbers well and slice off 1/16 inch of the bottom end. This is an important step; the enzymes in the bottom end can make your pickles less crisp and crunchy.
Submerge your cucumbers in an ice bath for 15-30 minutes to make them firm and crisp.
Similar Recipes from Fermenters Kitchen: Fermented Curtido
Step 2. Make the Spice Seasoning
Getting your spice seasoning right is one of the most crucial parts of fermenting pickles. However, much of this is up to personal preference.
To infuse your pickles with mouthwatering flavors, gather your favorite spices. Fennel, mustard, peppercorns, coriander, allspice, dill, and celery seeds are excellent choices.
Experiment and adjust the spice blend to suit your taste. Additionally, gather fresh dill, garlic cloves, and bay leaves. These ingredients will contribute to the overall taste and aroma of your pickles.
Optional but highly recommended ingredients for your spice seasoning include:
● Chilies
● Garlic
● Onion
● Mustard seed
● Allspice
● Red pepper flakes
● Celery seeds
● Fennel seeds
● Peppercorns
Want Extra Garlicky Pickles?
3 - 4 Fresh garlic cloves will add a nice flavor to the recipe. If you want a stronger garlicky kick of flavor, add 10 -12 cloves. Fresh garlic is best; avoid the minced kind from a jar.
Step 3. Layer the Ingredients
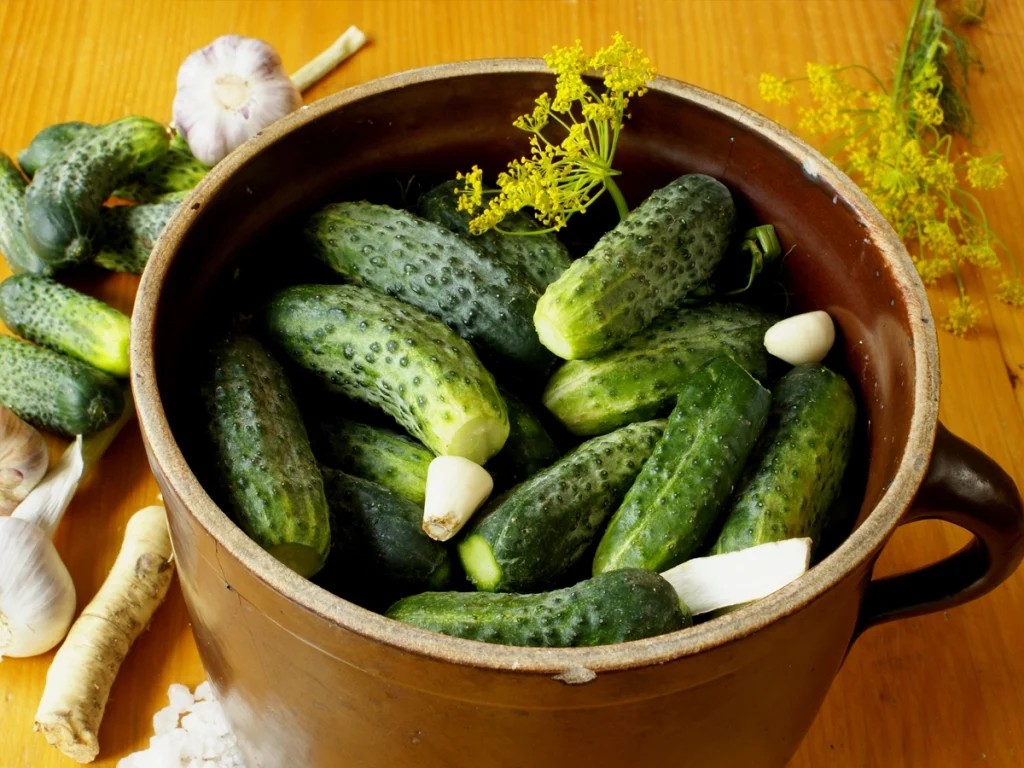
In a clean, sterilized ½ gallon mason jar or two quart-sized jars, start layering the spices, cucumbers, garlic, dill, and bay leaves. Press everything down tightly to ensure there's enough space for the brine.
Step 4. Prepare the Brine
Next, you must make your saltwater brine. It’s essential to calculate the proper ratio of salt in the fermentation process.
The right balance of salt and water will allow good bacteria to grow and destroy unbeneficial bacteria.
Salt to Water Ratio for Fermented Pickles - This recipe uses 7 grams of fine, unprocessed sea salt per 1 cup of unchlorinated, filtered water, equal to a 3% saltwater brine. Dissolve the salt completely.
Related: How To Fix Pickles That Are Too Salty
Use a Kitchen Scale: A kitchen scale is a great ally in achieving the perfect salt balance for your brine. This precision ensures the ideal environment for fermentation.
Step 5. Pour the Brine
Pour the prepared brine over the pickles, leaving about an inch of headroom at the top of the jar. The brine should completely cover the pickles.
If necessary, weigh down the cucumbers to keep them submerged. You can use a fermentation weight or a small ziplock bag filled with a little water. Exposing your naturally fermented pickles to air risks growing mold.
Here are some tips on how to weigh down fermented vegetables.
We recommend the Complete Mason Jar Fermentation Kit by Masontops for everything you need to start fermenting food at home! You can check out more gift ideas for the home fermenter here.
Step 6. Cover the Jar
Loosely cover the jar with a lid or a towel to prevent bugs or flies from getting in. Place the jar in a bowl or pan to catch any overflow that may occur during fermentation. Find a cool, dark place to store the jar for 3-7 days, such as a basement.
It's recommended to ferment at cooler temperatures (around 60-65°F) to maintain the crispness of the pickles. If your home is warm, consider placing the jar in a cooler with ice to maintain the desired temperature.
Step 7. Check for Signs of Fermentation
After 2-3 days, check for signs of fermentation, such as bubbles and cloudy water. Fermentation time can vary depending on the temperature, but it typically takes about 3-7 days.
Cloudy brine is a good sign that fermentation is occurring.
Essentially, you are looking for signs of life! If brine has overflowed into your container, this counts.
Step 8. Move to the Fridge
Once the pickles have reached your desired level of fermentation, move the jar to the refrigerator. The cold temperature will slow down the fermentation process.
Using a loosely fitted lid in the fridge is recommended to allow gases to escape. This will also help maintain the crunchiness of the pickles.
How Long Does it Take to Ferment Pickles?
Once you see bubbles, you can taste your fermented pickles to see if you would like to leave them out longer or if you would prefer to put them in the refrigerator to slow the fermentation process.
The longer you leave your pickles out, the tangier they’ll get, but keep in mind that they will also get softer.
Half sour pickles take between 3-5 days and produce a nice crisp, white interior.
While a full-sour pickle can take between 14-21 days, the longer fermentation time often produces a tangier flavor, but it can be softer too.
If you prefer a more sour flavor, let them sit for up to 4 weeks, tasting as you go along until it reaches the desired sourness and texture.
Time to Enjoy Your Naturally Fermented Pickles
Fermented pickles are tangy and delicious and contain beneficial bacteria that are good for your gut. Fermenting pickles is not only good for you, but it’s incredibly easy, especially with the help of a fermentation kit.
Expert Tips for Fermenting Pickles:
- Fermenting at cooler temperatures helps to keep the pickles crisp. If your home is warm, consider using a cooler with ice or monitoring the temperature of the brine.
- If you prefer a fizzy brine, tighten the lid and burp the jar daily if you're leaving it out at room temperature. If stored in the fridge, burp the jar weekly to release any built-up pressure and create a slight effervescence.
- Once the pickles are cold, give them a taste. They should be crunchy and flavorful.
- If you'd like to add a pop of color to your pickles, you can also include ¼ teaspoon of turmeric.
Add Tannins for Crunchy Pickles
2-4 fresh dill flowers or 1 teaspoon dill seeds are essential to your fermented dill pickle recipe. The tannins keep the skin of the cucumbers firm and crunchy and add flavor.
Check out my post, 11 Natural Sources of Tannins for Crunchy Fermented Pickles, to learn how to keep pickles crunchy during fermentation.
Grape leaf or bay leaf is another option for spice seasoning and tannins to prevent the skins from turning out soft.
Enjoy your homemade fermented pickles with garlic and dill! They make a delicious low-calorie snack or a great addition to sandwiches. If you have any more questions or need further assistance, feel free to ask. Happy pickling!
More Fermentation Recipes:
- Homemade Sauerkraut
- Kimchi Recipe
- Kimchi Pickled Eggs
- Kefir Cheese
- Fermented Carrots
- Fermented Green Beans
Fermented Pickles
How to make Fermented Dill Pickles! This simple recipe makes the most crunchy, tangy garlic dill pickles with only 30 minutes of hands-on time. These traditionally fermented dill pickles are perfect for any sandwich or a gut-healthy snack.
Ingredients
- 2– 2 ½ lbs pickling cucumbers– Kirby and Persian cucumbers are excellent choices, all roughly the same size (4-5 inches long)
- 2 Tablespoons Himalayan salt or one heaping teaspoon fine sea salt (7 grams) per one cup of water for a 3% brine
- 6 cups non-chlorinated water
- Seasoning and spices: Play around with the seasoning combinations to create your desired level of garlic dill pickles. Or, use a store-bought pickling spice blend.
- 1 teaspoon of each of the following seasoning options
- Chilies
- Mustard seed
- Allspice
- Red pepper flakes
- Celery seeds
- Fennel seeds
- Peppercorns
- 3 -4 garlic cloves, sliced (add more for extra garlicky)
- 2-4 whole fresh dill flowers or 1 teaspoon dill seeds. Bay leaves, and grape leaves are another great source to help the pickles turn out crisp.
Instructions
Prep the Cucumbers:
1. Rinse the cucumbers, and cut the end off of each cucumber, about 1/16-inch.
2. Give them an ice-water bath to crisp them up (15-30 minutes). Do not slice the cucumbers.
Make the Salt Brine:
1. Mix 2 tablespoons of salt and 6 cups water until dissolved.
Add to the Jar:
1. Layer the spices, cucumbers, garlic, and dill in the two-quart mason jar. If using two smaller jars, distribute them evenly.
2. Place the cucumbers in the jar standing up, not lying flat.
3. Press everything down while leaving an inch of headroom.
4. Pour the salt water brine over the top and hold down the cucumbers with a fermentation weight.
5. Place the lid on the jar loosely or with a cloth secured with a rubber band. The pickles will bubble, and you want air to be able to escape.
Store the Jar:
1. Place the jar in a large bowl to collect any spillage and leave it in a cool place (60-65F) away from direct sunlight. Bubbles or overflow are a good sign that fermentation is happening. A cloudy brine is also a good sign.
2. Taste the pickles after 3-5 days.
3. Place them in the refrigerator once you are happy with the flavor.
Notes
How Long To Ferment Pickles:
Half sour pickles take between 3-5 days and produce a nice crisp, white interior.
While a full-sour pickle can take between 14-21 days, the longer fermentation time often produces a tangier flavor, but it can be softer too.
If you prefer a more sour flavor, let them sit for up to 4 weeks, tasting as you go along until it reaches the desired sourness and texture.
Temperature:
If it is colder than 65F, fermentation may take longer. If the temperatures are warmer, they will ferment faster.

