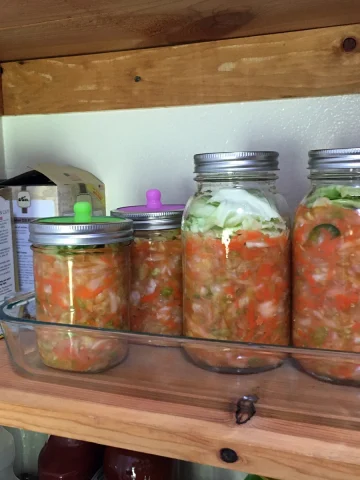
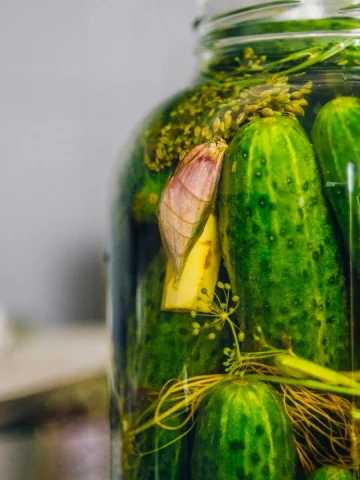
Lacto-Fermentation Guide: How to Ferment Vegetables
Are you interested in learning how Lacto-fermentation works? Check out our ultimate guide on fermenting vegetables to make mouth-watering recipes at home.
Fermenting is a brilliant solution for preserving vegetables from the store or garden.
Fermenting doesn't require a lot of tools or time. Best of all, you can adapt this simple formula for fresh vegetables; try a mixture of veggies and spices for a custom fermentation pleasure.
Ready to start fermenting vegetables? Follow this quick step-by-step guide on how to ferment vegetables at home.
Equipment Needed For Fermenting Vegetables
If you browse Amazon for fermentation equipment, you will find an endless list of supplies (scroll to the bottom to view my favorite fermentation tools).
But, if you are starting, you only need a few jars with lids and a knife to cut the veggies.
Prepare Vegetables For Fermentation
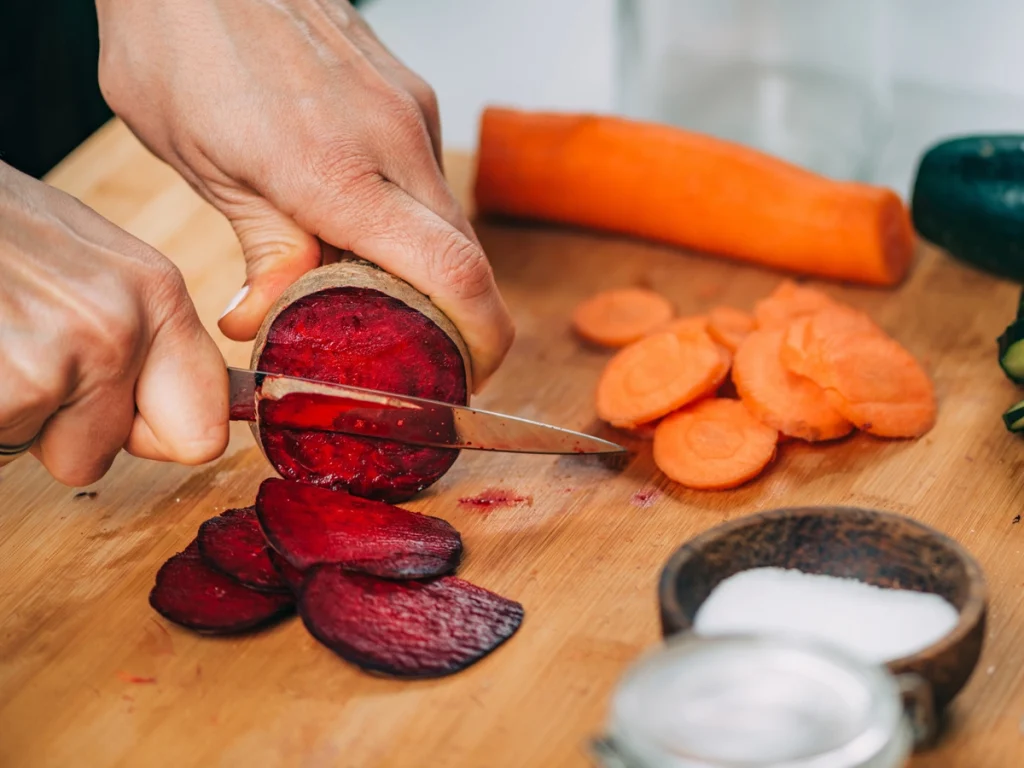
Give the vegetables a good wash. If you usually peel the vegetables when you eat them raw, peel them for this process. Carrots, radishes, beets, zucchini, mushrooms, broccoli, and cauliflower are all great vegetables to ferment.
Chop or shred the vegetables very small; the smaller or finer they are will help them to ferment faster. It's a matter of personal preference and how you intend to use the finished product.
For example, carrots can be chopped, shredded, diced, or cut into coins or matchsticks. At the very least, cut the vegetables into bite-size pieces.
Make this next: Lacto-fermented Salsa, Fermented Ketchup
Make the Fermentation Brine
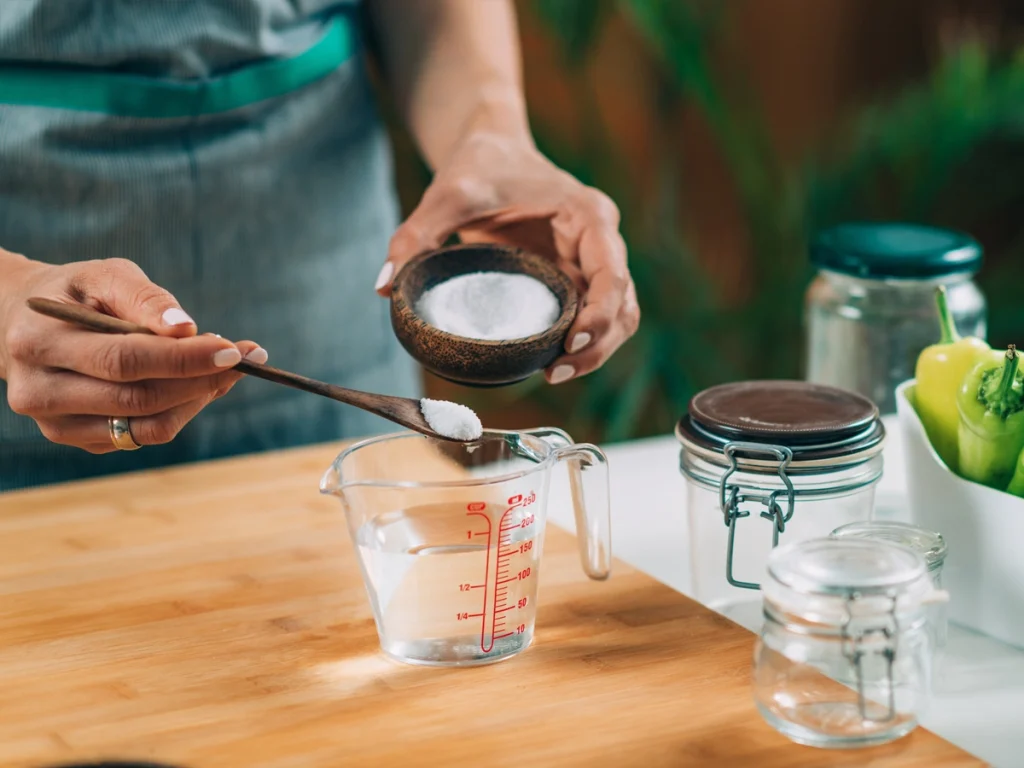
The fermentation brine is made from 1 tablespoon of salt per cup (natural, non-iodized, and chlorine-free water). The salt prevents mold organisms from growing and produces beneficial probiotic bacteria.
The best salts are sea salt, Himalayan salt, pickling salt, and kosher salt.
Avoid iodized salt and salts that include anti-caking agents, often in table salt and some kosher salts.
Mix the salt and water until the salt dissolves.
It is time to fill the jars. Layer the vegetables and any herbs or seasoning in the jars as firmly as possible and pour the brine over them while leaving 1-2 inches of head space.
Garlic, ginger, bay leaves, dill, fresh thyme, caraway seeds, and red pepper flakes are all great herbs and seasoning ideas.
The salt brine is enough to ferment the sauerkraut. However, you can use a starter culture if you are new to fermenting and want assurance that your sauerkraut will ferment properly. To learn more about using a starter culture, check out this post, is starter culture necessary for making sauerkraut?
The vegetables must remain submerged in the brine; any air exposure will rot. Use a fermentation weight to keep the floaties down.
For some DIY weights, read my post, Fermentation Weights: How to weigh down fermented vegetables.
Let the Vegetables Ferment
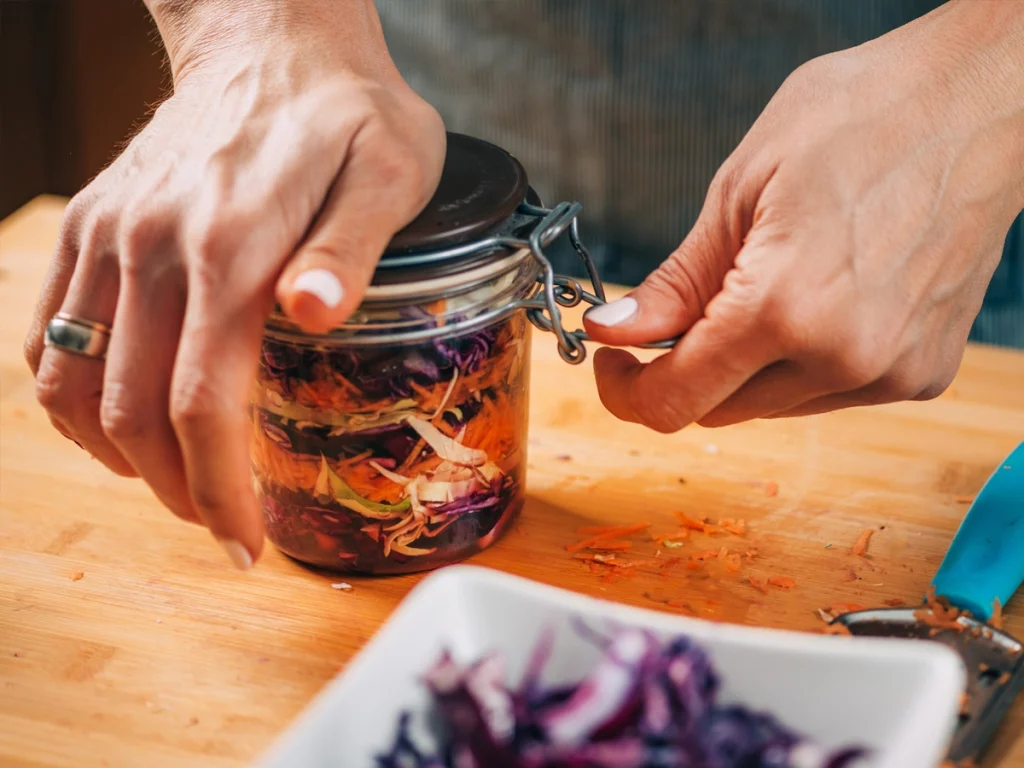
If using a mason jar, tighten the lid just a little to prevent any oxygen from entering, but it lets carbon dioxide escape. Pressure can build up and explode if the lid is too tight and no air can escape. That is why fermentation crocks have water seals.
Here are three fermentation kits that make fermenting easy.
Last update on 2025-05-18 / Affiliate links / Images from Amazon Product Advertising API
Store the jars of fermenting vegetables in a cool and dark place. The ideal temperature for fermentation is between 65 to 70 degrees. Store the jars out of sunlight in a cupboard or pantry.
How long does it take to ferment vegetables?
The fermentation times can vary from three days to six months, depending on the vegetables, temperature, and flavor you seek.
The best way to know when it's ready is to taste it. Once it reaches the optimal flavor and crisp, move the jars to the refrigerator to stop any further fermentation.
A great way to find your optimal fermentation time is to make several jars at a time and let some ferment longer than others. Leave one for one week, one month, three months, and so on. Keep a fermentation logbook of their progress along the way.
Fermented Veggie Recipes
Ready to get started fermenting vegetables? Try out one of the following easy Lacto-fermented vegetable recipes!

